Create Gmail Style List in Android
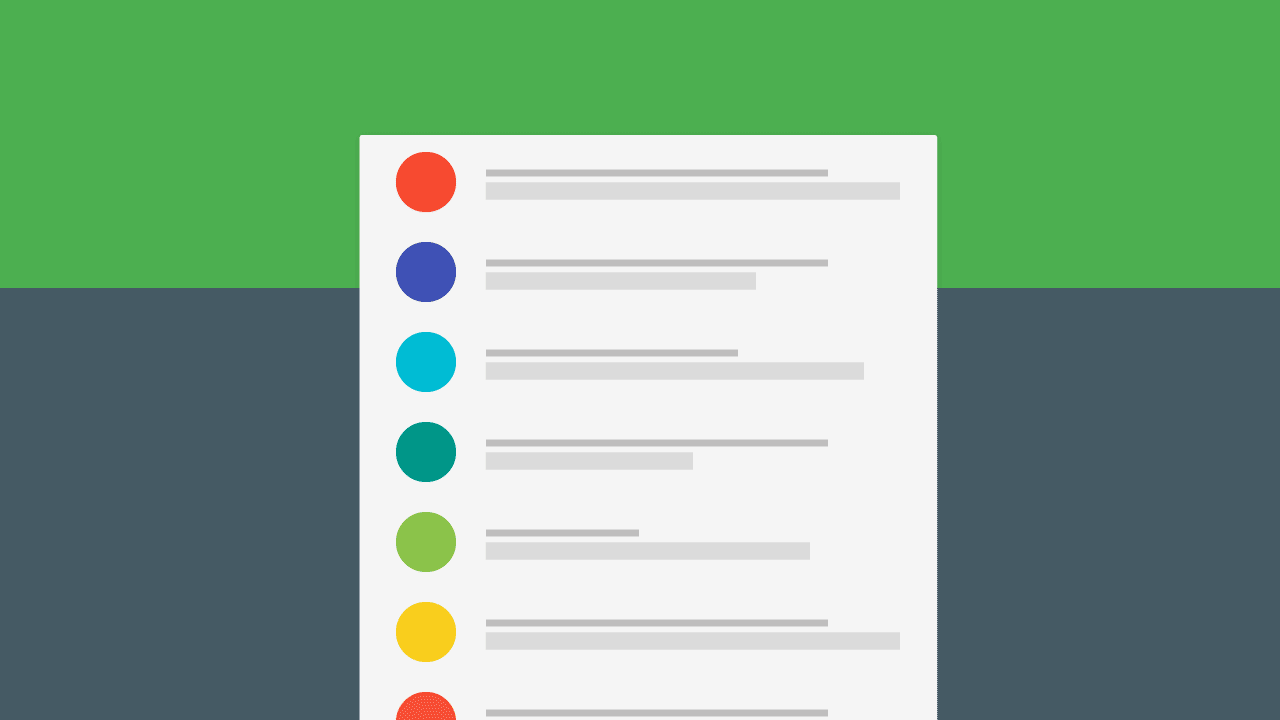
I’m sure all of you would have noticed the list style in the Gmail app for Android. The placeholder for a person’s photo is their first letter accented with a nice color. In fact even the stock Contacts app and the new Inbox by Gmail has a similar style.
[su_row][su_column size=”1/2″]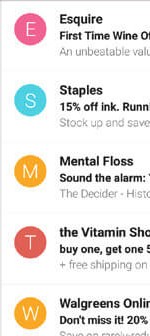 Gmail
Gmail
[/su_column][su_column size=”1/2″]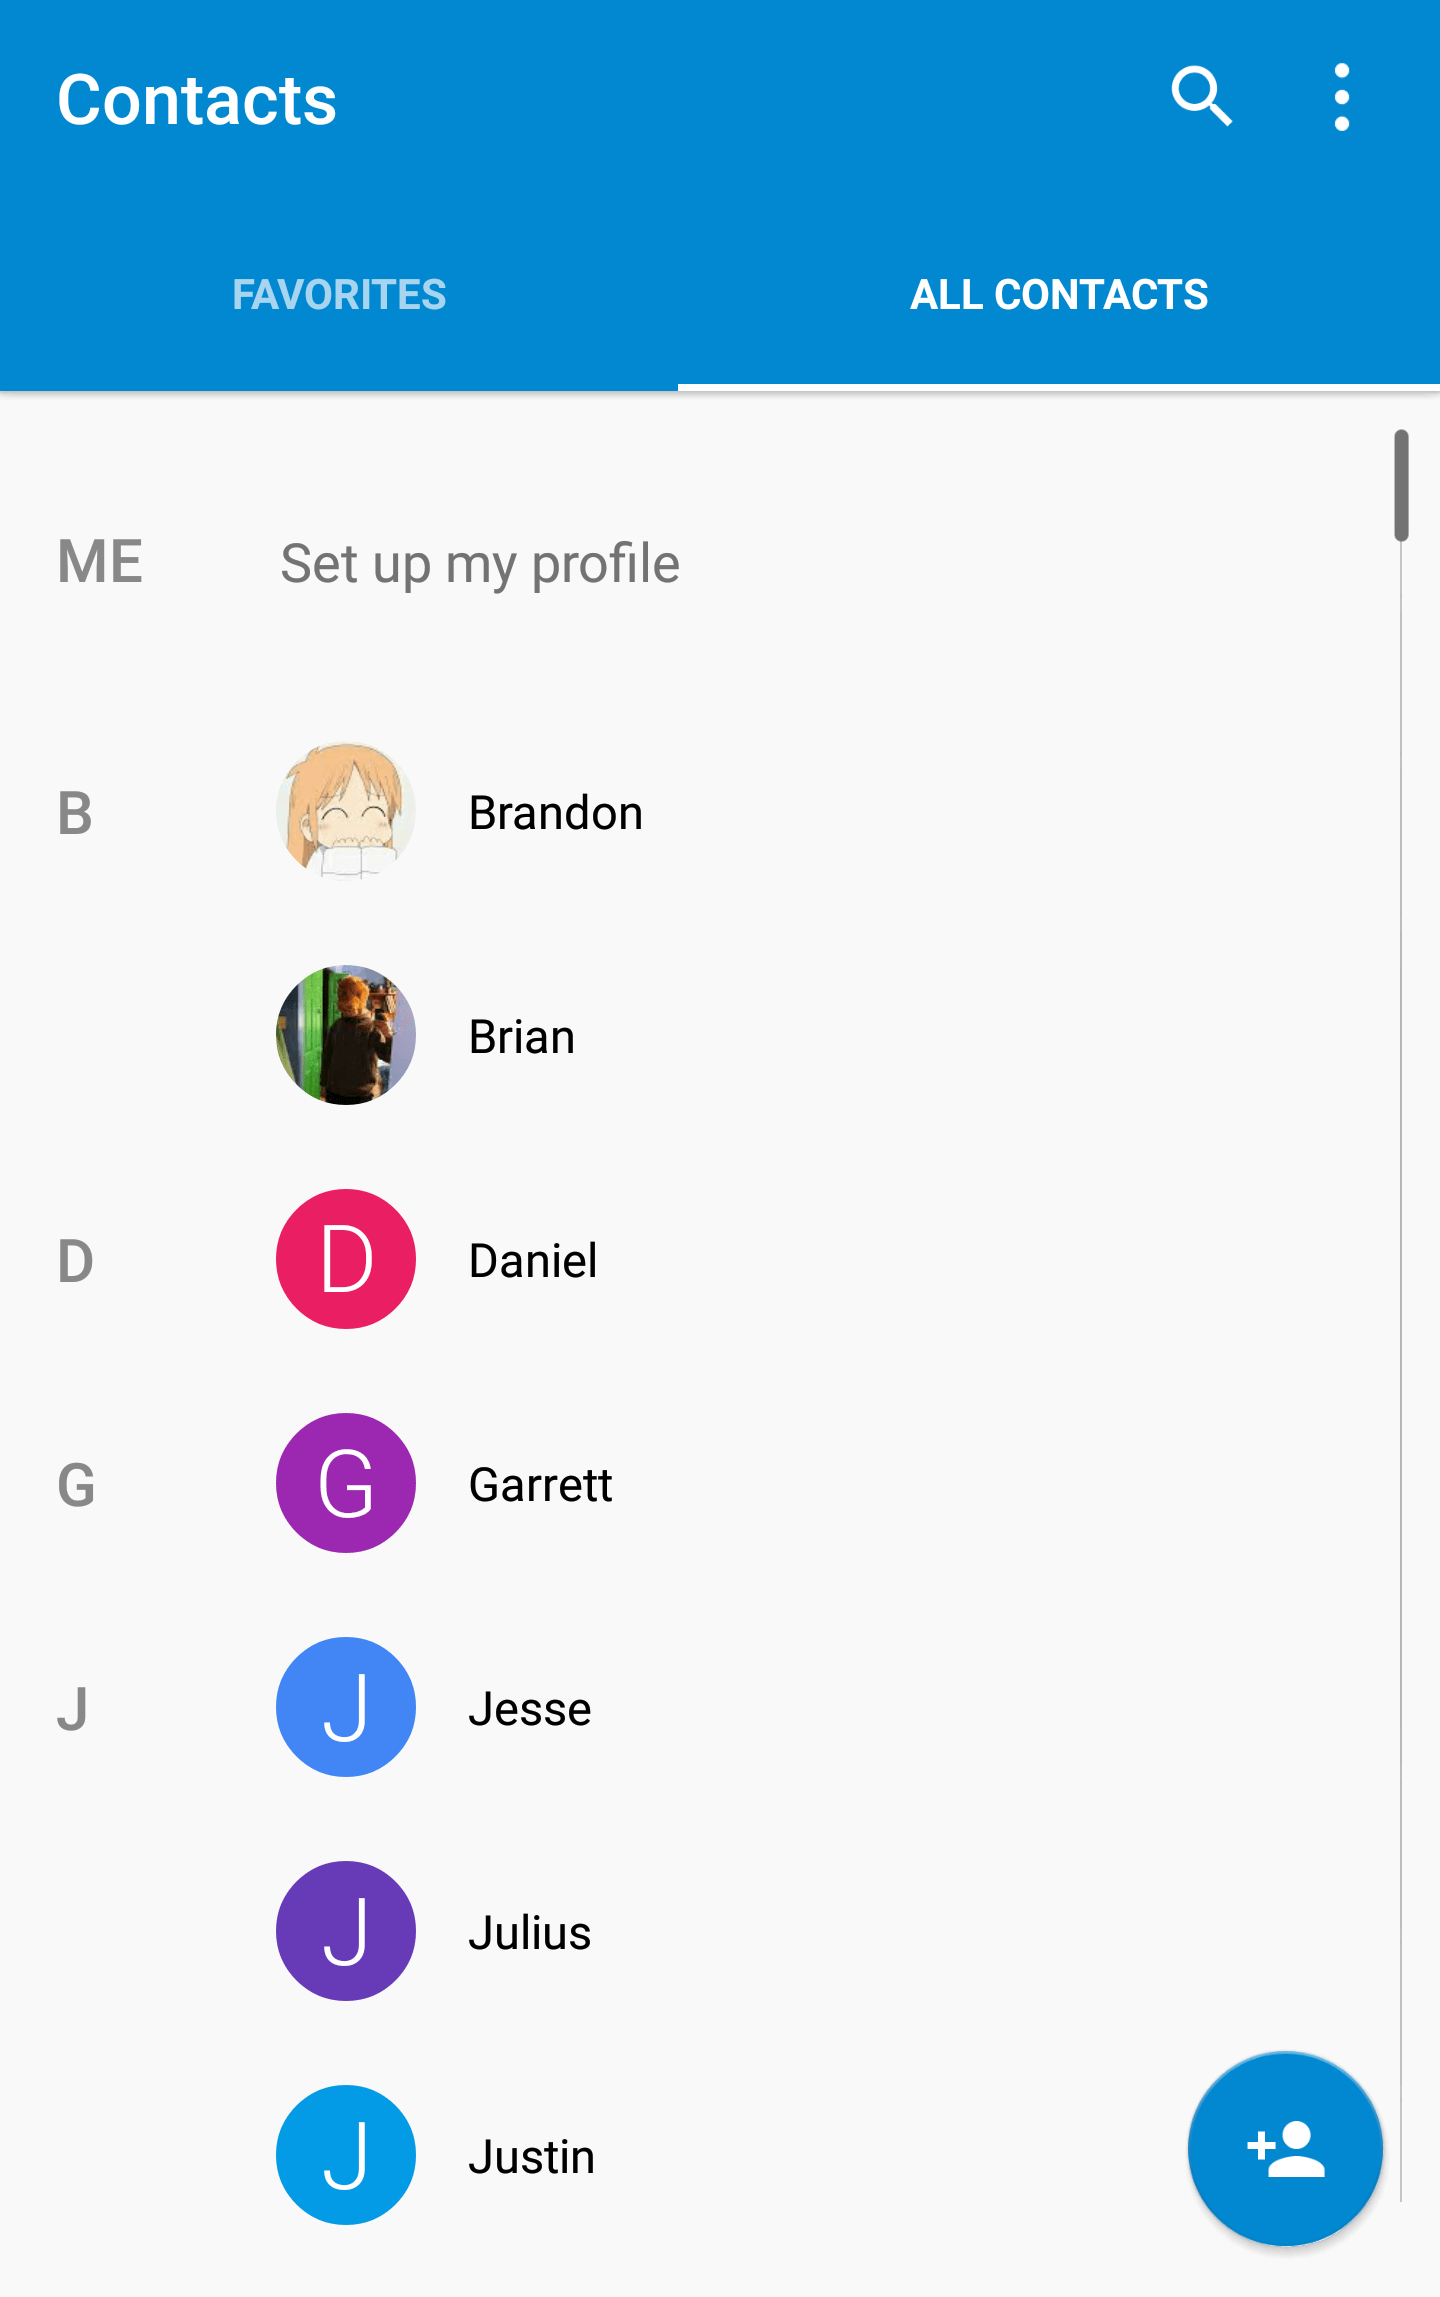
Lollipop Stock Contacts App
[/su_column][/su_row]
This is a pretty neat way of handling the absence of a profile picture, instead of a mundane grey placeholder. This helps add more vibrancy to our app, giving it more ‘pop’ and life.
Let’s look at how to make a Gmail style list using the TextDrawable library, as it makes it easy to mimic such a style. The reason for using this library is that apart from the prime function we seek, it offers flexibility and customization as well.
The idea is to use this as a placeholder for a person’s profile picture. For example if you take WhatsApp, you have a grayed contact icon which is rather dull. If the user had a profile picture, that would replace the grey icon instead.
That’s the same thing we’re going to fix here, except instead of that boring grayed icon, we’ll add a randomly generated color for our placeholder along with the 1st letter of the list item (as seen above).
Setup
As advertised, the library is lightweight and you can start using it simply by adding these lines to your build.gradle file.
repositories {
    maven {
        url 'http://dl.bintray.com/amulyakhare/maven'
    }
}

dependencies {
    compile 'com.amulyakhare:com.amulyakhare.textdrawable:1.0.1'
    ...
}
Layout
As always, we’ll start with the MainActivity‘s layout, which is nothing but a RecyclerView.
So let’s jump ahead to our list item’s layout.
<LinearLayout xmlns:android="http://schemas.android.com/apk/res/android"
    android:layout_width="match_parent"
    android:layout_height="wrap_content"
    android:orientation="horizontal"  >

    <ImageView
        android:id="@+id/gmailitem_letter"
        android:layout_width="40dp"
        android:layout_height="40dp" />

    <TextView
        android:id="@+id/gmailitem_title"
        android:layout_width="match_parent"
        android:layout_height="match_parent"
        android:gravity="center_vertical" />
</LinearLayout>

Modifying the Adapter
Now I won’t be going into creating an adapter for our list. You can find tons of posts about that like this one. Moreover, as an Android developer, you must be both familiar and comfortable in creating an adapter for your RecyclerView by now.
So instead of that, I’ll show you how to modify our RecyclerView’s adapter so we can get those different colors.
Be sure to reference your ImageView (gmailitem_letter) in your RecyclerView ViewHolder like this:
class GmailVH extends RecyclerView.ViewHolder {
        ImageView letter;
        ...

        public GmailVH(View itemView) {
            super(itemView);
            letter = (ImageView) itemView.findViewById(R.id.gmailitem_letter);
            ...
        }
    }
onBindViewHolder()
Called by RecyclerView to display the data at the specified position.
This is where we’ll create a TextDrawable, generate a random color for it and set it to our ImageView.
To generate a random color, use ColorGenerator generator = ColorGenerator.MATERIAL;
 @Override
    public void onBindViewHolder(GmailVH gmailVH, int i) {
        ...
//        Get the first letter of list item
        letter = String.valueOf(dataList.get(i).charAt(0));

//        Create a new TextDrawable for our image's background
        TextDrawable drawable = TextDrawable.builder()
                .buildRound(letter, generator.getRandomColor());

        gmailVH.letter.setImageDrawable(drawable);
    }
I hope along with the comments, the above code snippet was self explanatory. For each list item for position int i, we will be generating a random color for each list item.
If you want instead of randomly generating colors, you can generate based on a key value like this:
int color = generator.getColor("urawesome@gmail.com")
Finally, don’t forget to set your adapter!
Here’s the entire adapter code if you need it, otherwise feel free to scroll past it.
public class GmailAdapter extends RecyclerView.Adapter<GmailAdapter.GmailVH> {
    List<String> dataList;
    String letter;
    Context context;
    ColorGenerator generator = ColorGenerator.MATERIAL;

    public GmailAdapter(Context context, List<String> dataList) {
        this.context = context;
        this.dataList = dataList;
    }

    @Override
    public GmailVH onCreateViewHolder(ViewGroup viewGroup, int i) {
        View view = LayoutInflater.from(viewGroup.getContext()).inflate(R.layout.gmail_list_item, viewGroup, false);
        return new GmailVH(view);
    }

    @Override
    public void onBindViewHolder(GmailVH gmailVH, int i) {
        gmailVH.title.setText(dataList.get(i));
        letter = String.valueOf(dataList.get(i).charAt(0));

        TextDrawable drawable = TextDrawable.builder()
                .buildRound(letter, generator.getRandomColor());

        gmailVH.letter.setImageDrawable(drawable);
    }

    @Override
    public int getItemCount() {
        return dataList == null ? 0 : dataList.size();
    }

    class GmailVH extends RecyclerView.ViewHolder {
        TextView title;
        ImageView letter;

        public GmailVH(View itemView) {
            super(itemView);
            letter = (ImageView) itemView.findViewById(R.id.gmailitem_letter);
            title = (TextView) itemView.findViewById(R.id.gmailitem_title);
        }
    }

}
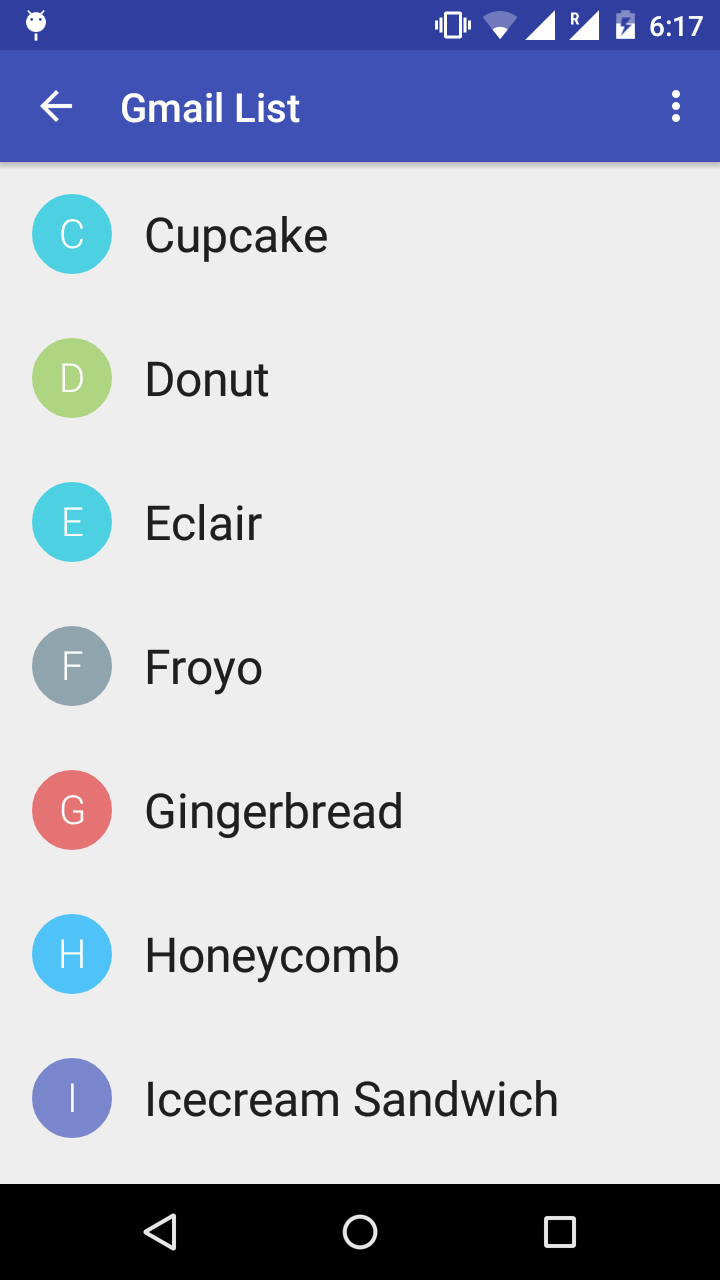
Final Output
Here’s how its finally going to look like. Pretty neat eh?
As always you can check out the code sample over at GitHub.
If you have a profile picture, you can easily handle that as well. Simple don’t generate a TextDrawable, instead pass that image as the background for the ImageView.
As you can see the library helped us give our RecyclerView a facelift. That’s not all, the library has additional functionality which you can explore and add to your app as needed. Even the need for handling the entire list of colors is not needed, which is why this library is great for creating a Gmail style list.
Hoping to see you put it to good use.
Cheers!


I am lost. I would like to put the onclick methods in this project.
Hi Brian,
Relax. I’ve got just the thing for you:
https://gist.github.com/Suleiman19/342b872e253c239935c0
Hey suleiman. Nice Article. I was wonderiing where does one add the click listeners for the gmail list style. Thanks.
how to use the dividers in RecyclerView
Use this: https://gist.github.com/alexfu/0f464fc3742f134ccd1e
mRecyclerView.addItemDecoration(new DividerItemDecoration(context, DividerItemDecoration.VERTICAL_LIST);
perfect Suleiman19..just perfect
Thanks Trey.
Nice article.