You can now style and customize your Google Maps colors and more. In this Android tutorial, let’s see how we can do that in our apps. Google Maps has added this ability across all platforms. This means regardless of whether you use Google Maps for Web, iOS or Android, you’ll be able to style them. By default, Google Maps looks like this.
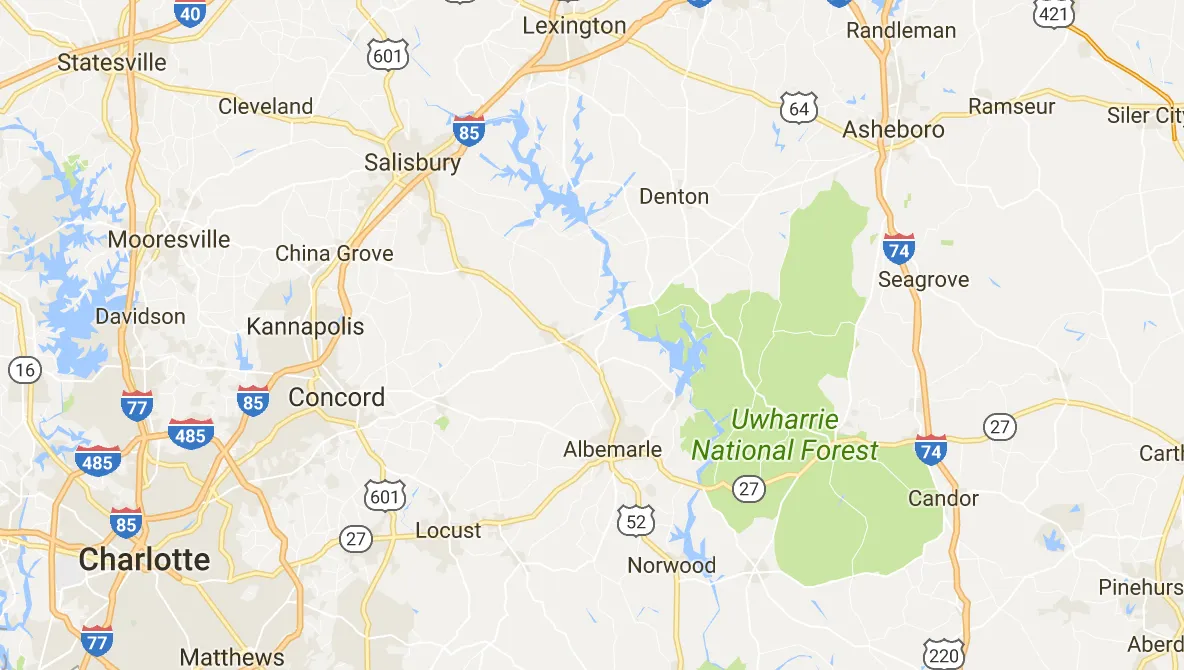
We’re all used to this and by no means am I saying it looks bad. But say I want to display a map that corresponds to my brand color scheme.
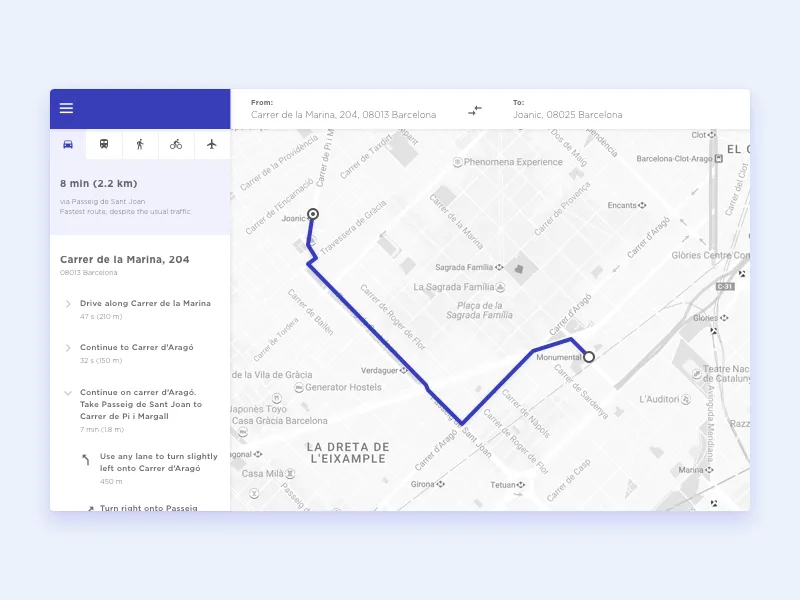
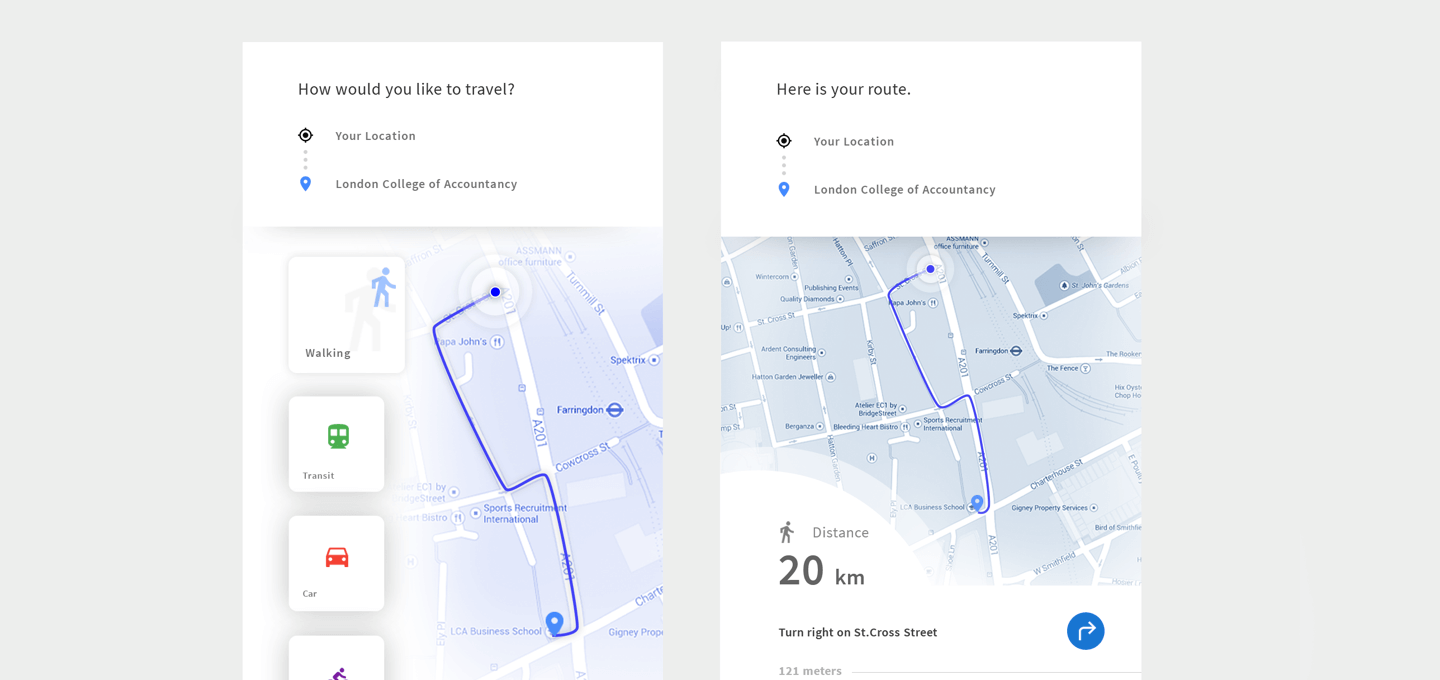
Directions Module by David Rodriguez Now imagine if my only option was to display the default Google maps, with it’s default colors. It wouldn’t go well with the design, would it? The color scheme of the map won’t be in harmony with the rest of the design. In other words, it sticks out, like a sore thumb. In such scenarios, we need a map that reflects our brand theme. Our brand color palette. This wasn’t possible before. But now, Google allows Styled maps. Using this, we can customize the map to look the way we want. This includes modifying colors, with a very high degree of control.
Getting Started
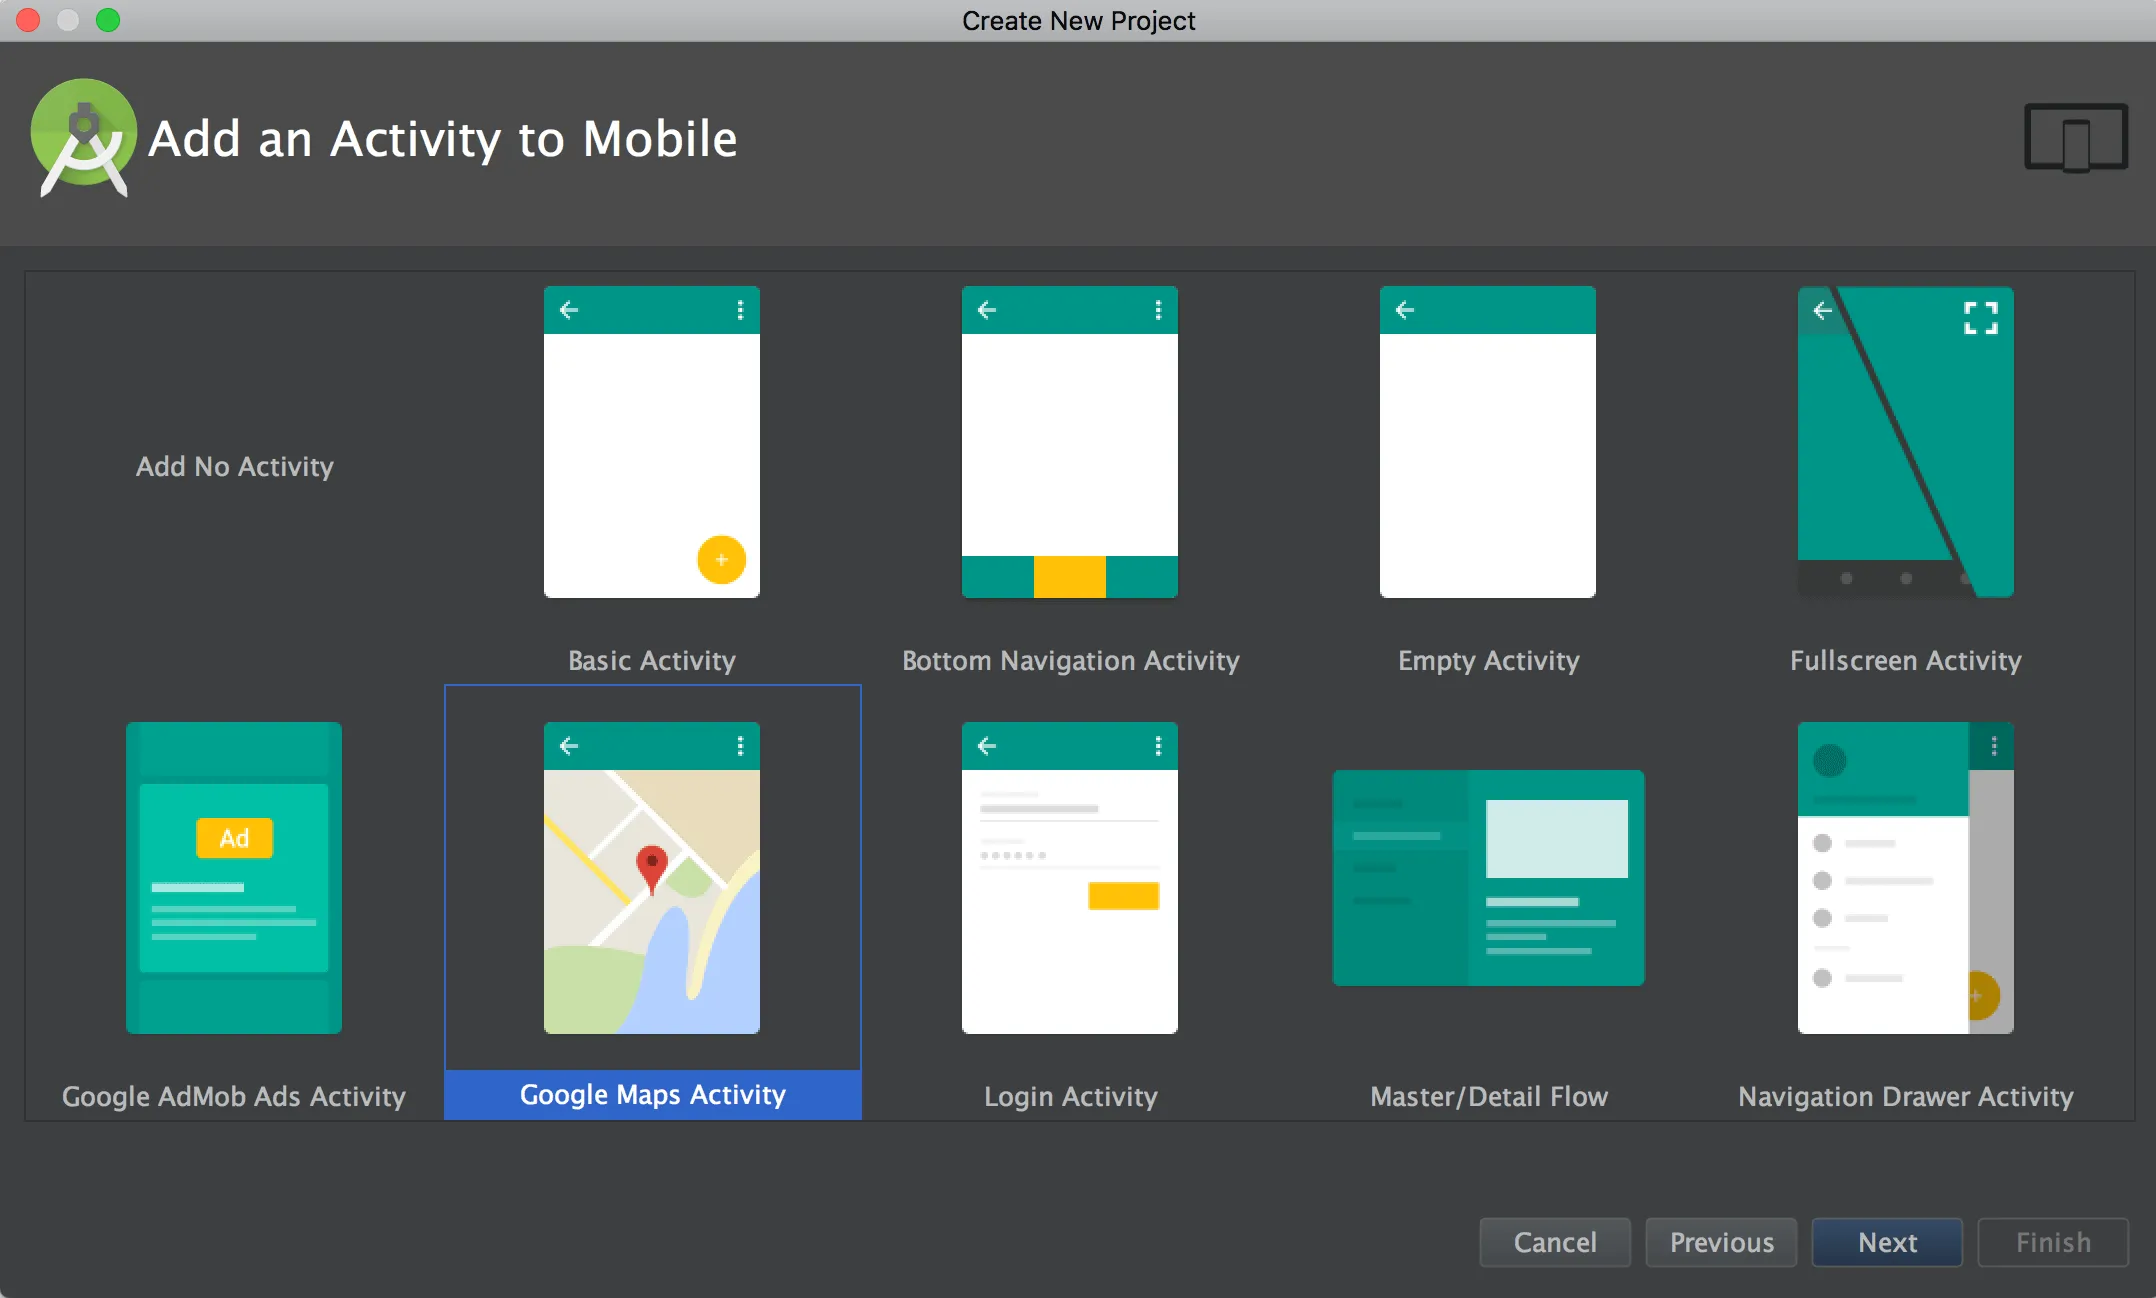
We’ll start by creating a new Android Studio project. Thankfully, we have pre-defined templates (for Activities) to start with. Activity templates were introduced in Android Studio 1.4. So when you create a new project, chose the ‘Google Maps Activity’ template.
Here are the project settings:
- minSdkVersion - 14
- targetSdkVersion - 26
Thanks to this, we don’t have to spend a lot of time configuring the Maps SDK and whatnot. I remember the first time I tried using Maps in Android (back in 2012). It took me well over an hour to simply display a Map! But you don’t have to worry anymore as we’ve come a long way from that!
Configuring Google Maps
Once the project has loaded, Android Studio will open the google_maps_api.xml file by default.
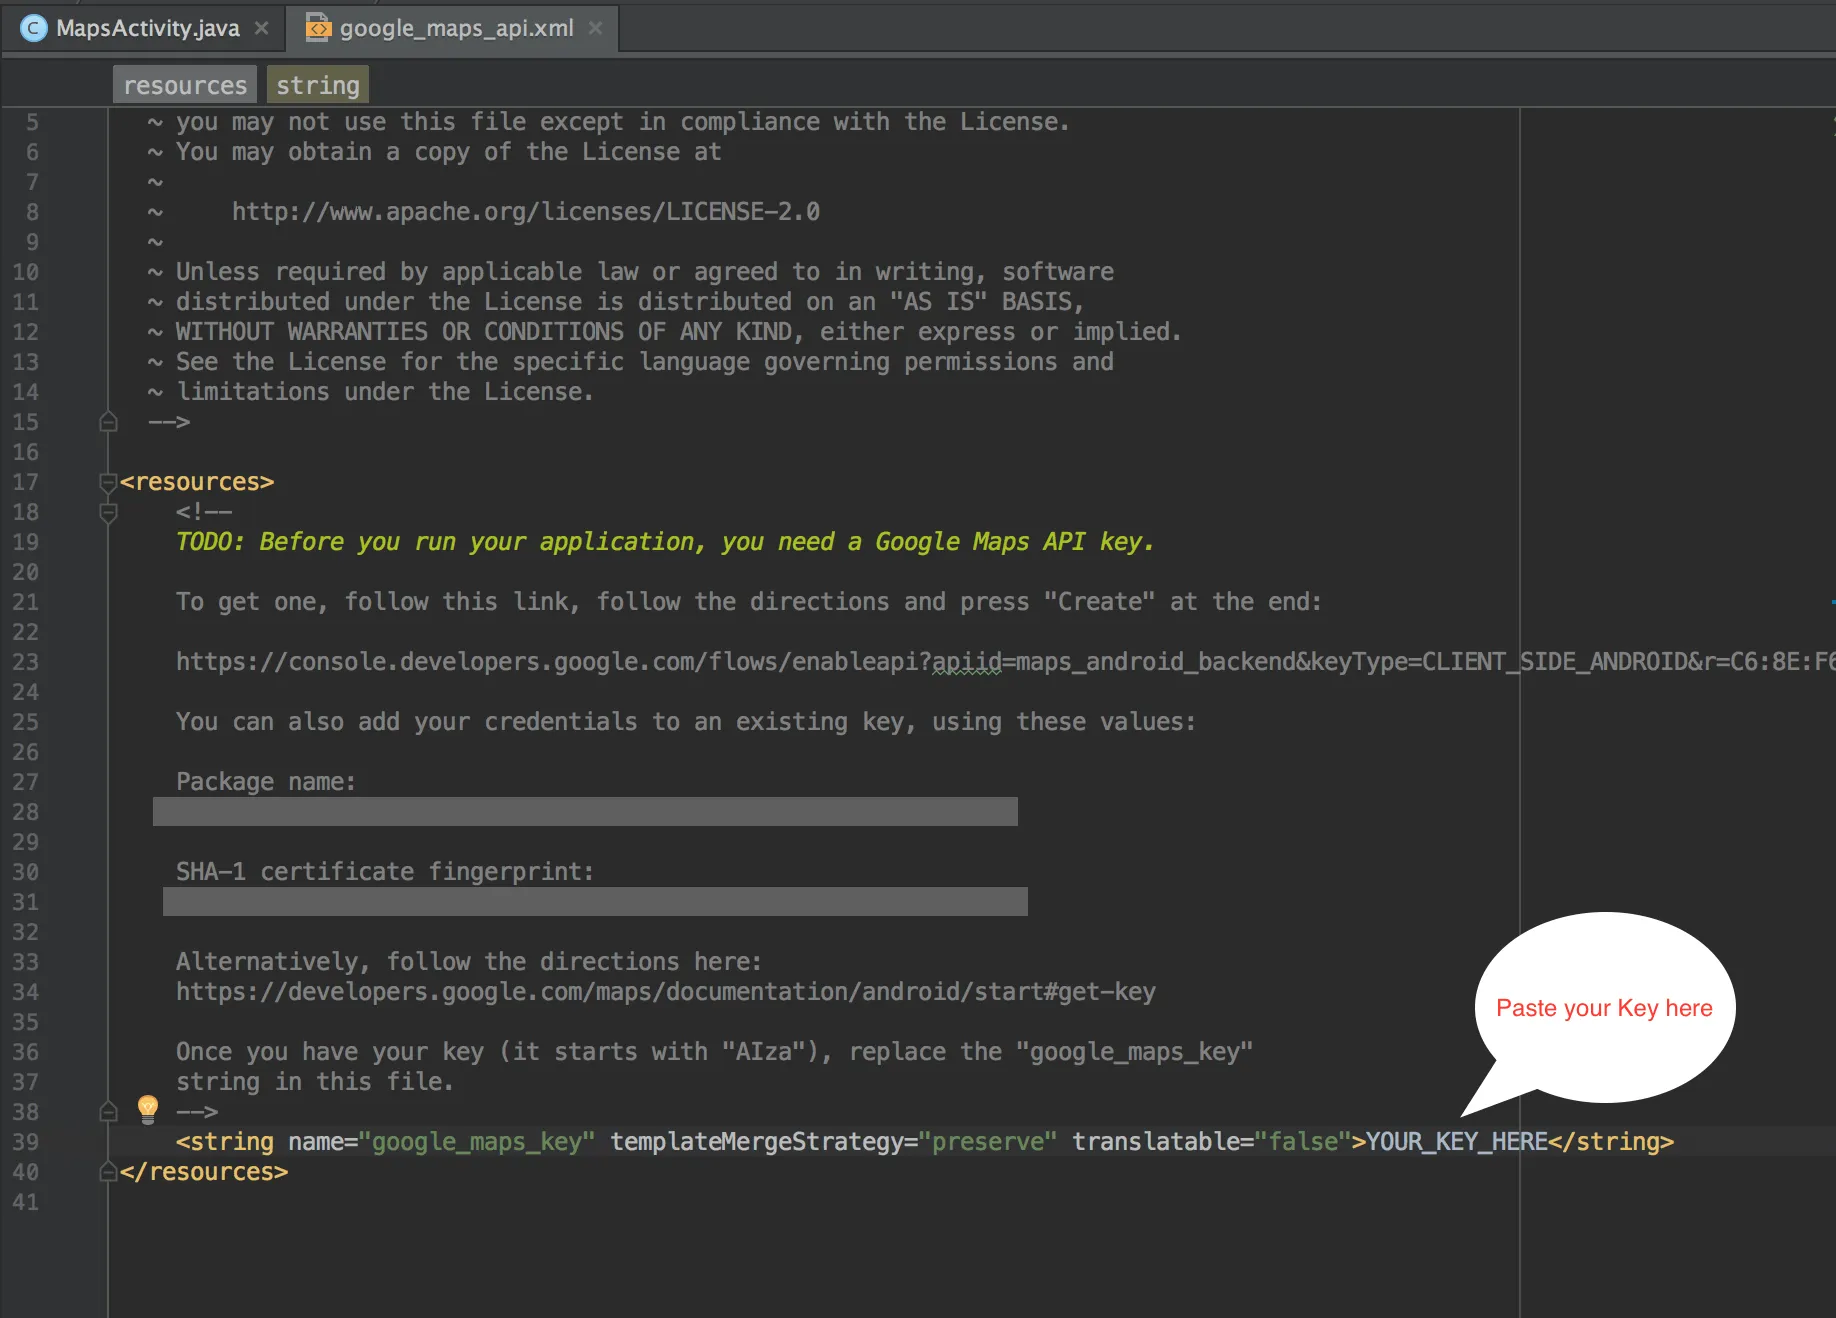
You’ll notice there is one step to follow to get your Google Maps API Key. Trust me, this is nothing compared to the amount of steps earlier! So follow the comments on the file. Don’t worry, I’ll still walk you through them. but you’ll have to grab the URL and keys from the google_maps_api.xml file’s comments.
1. Go to the URL provided - console.developers.google.com
You’ll land on a page like this.
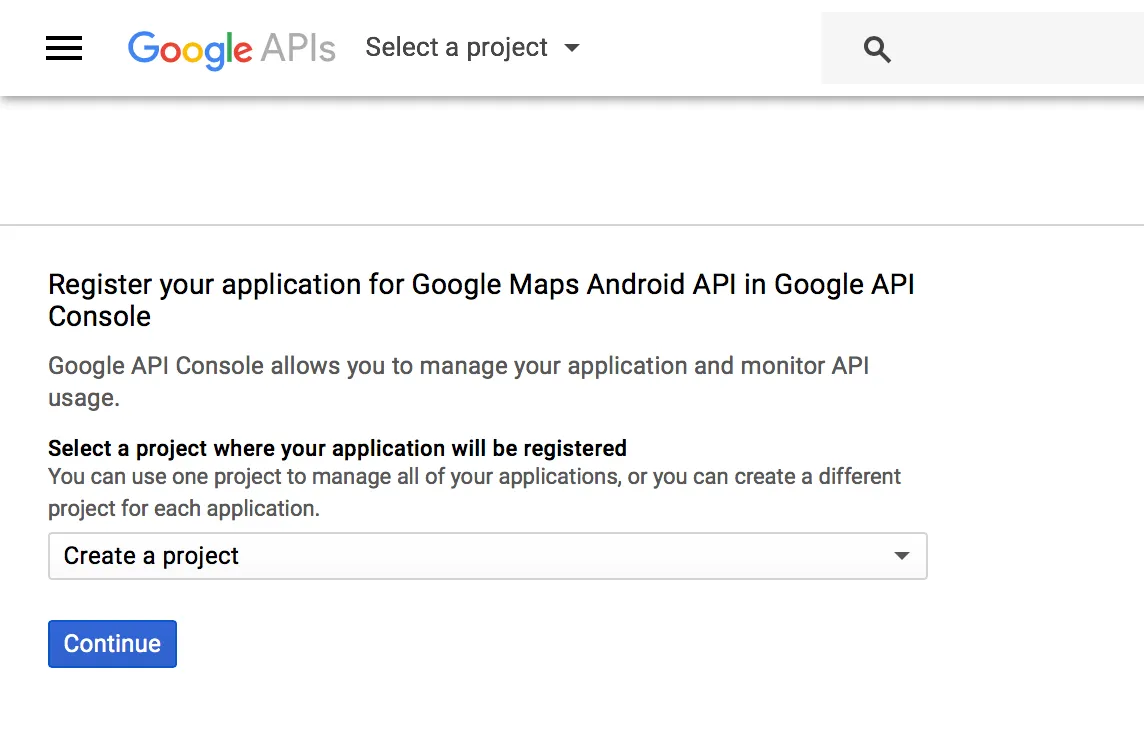
Select ‘Create a Project’ from the dropdown and then hit the Continue button.
2. Create Google Maps API Key
In the next step (screen), click the ‘Create API Key’ button.
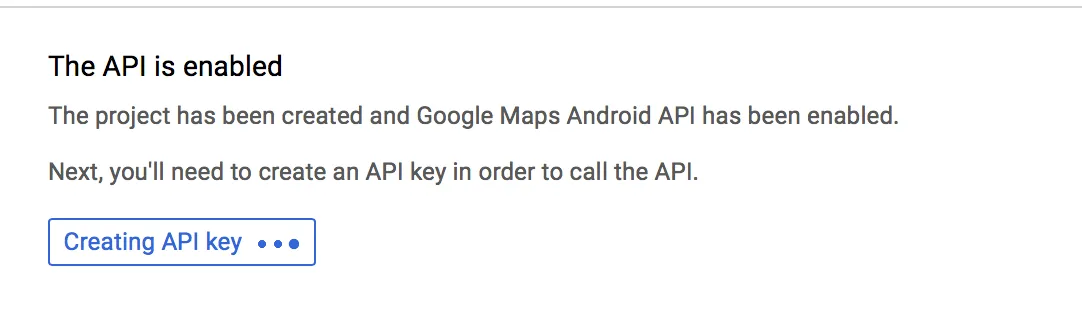
3. Get your generated API Key
Google now generated your Maps API key. So copy it and paste it in your XML file for the string name ‘google_maps_key’. Replace the ‘YOUR_KEY_HERE’ with your actual API key! You can optionally set up API Key restrictions if you want (see screenshot above). It’s fairly simple. Click restrictions and you’ll get a screen like this.
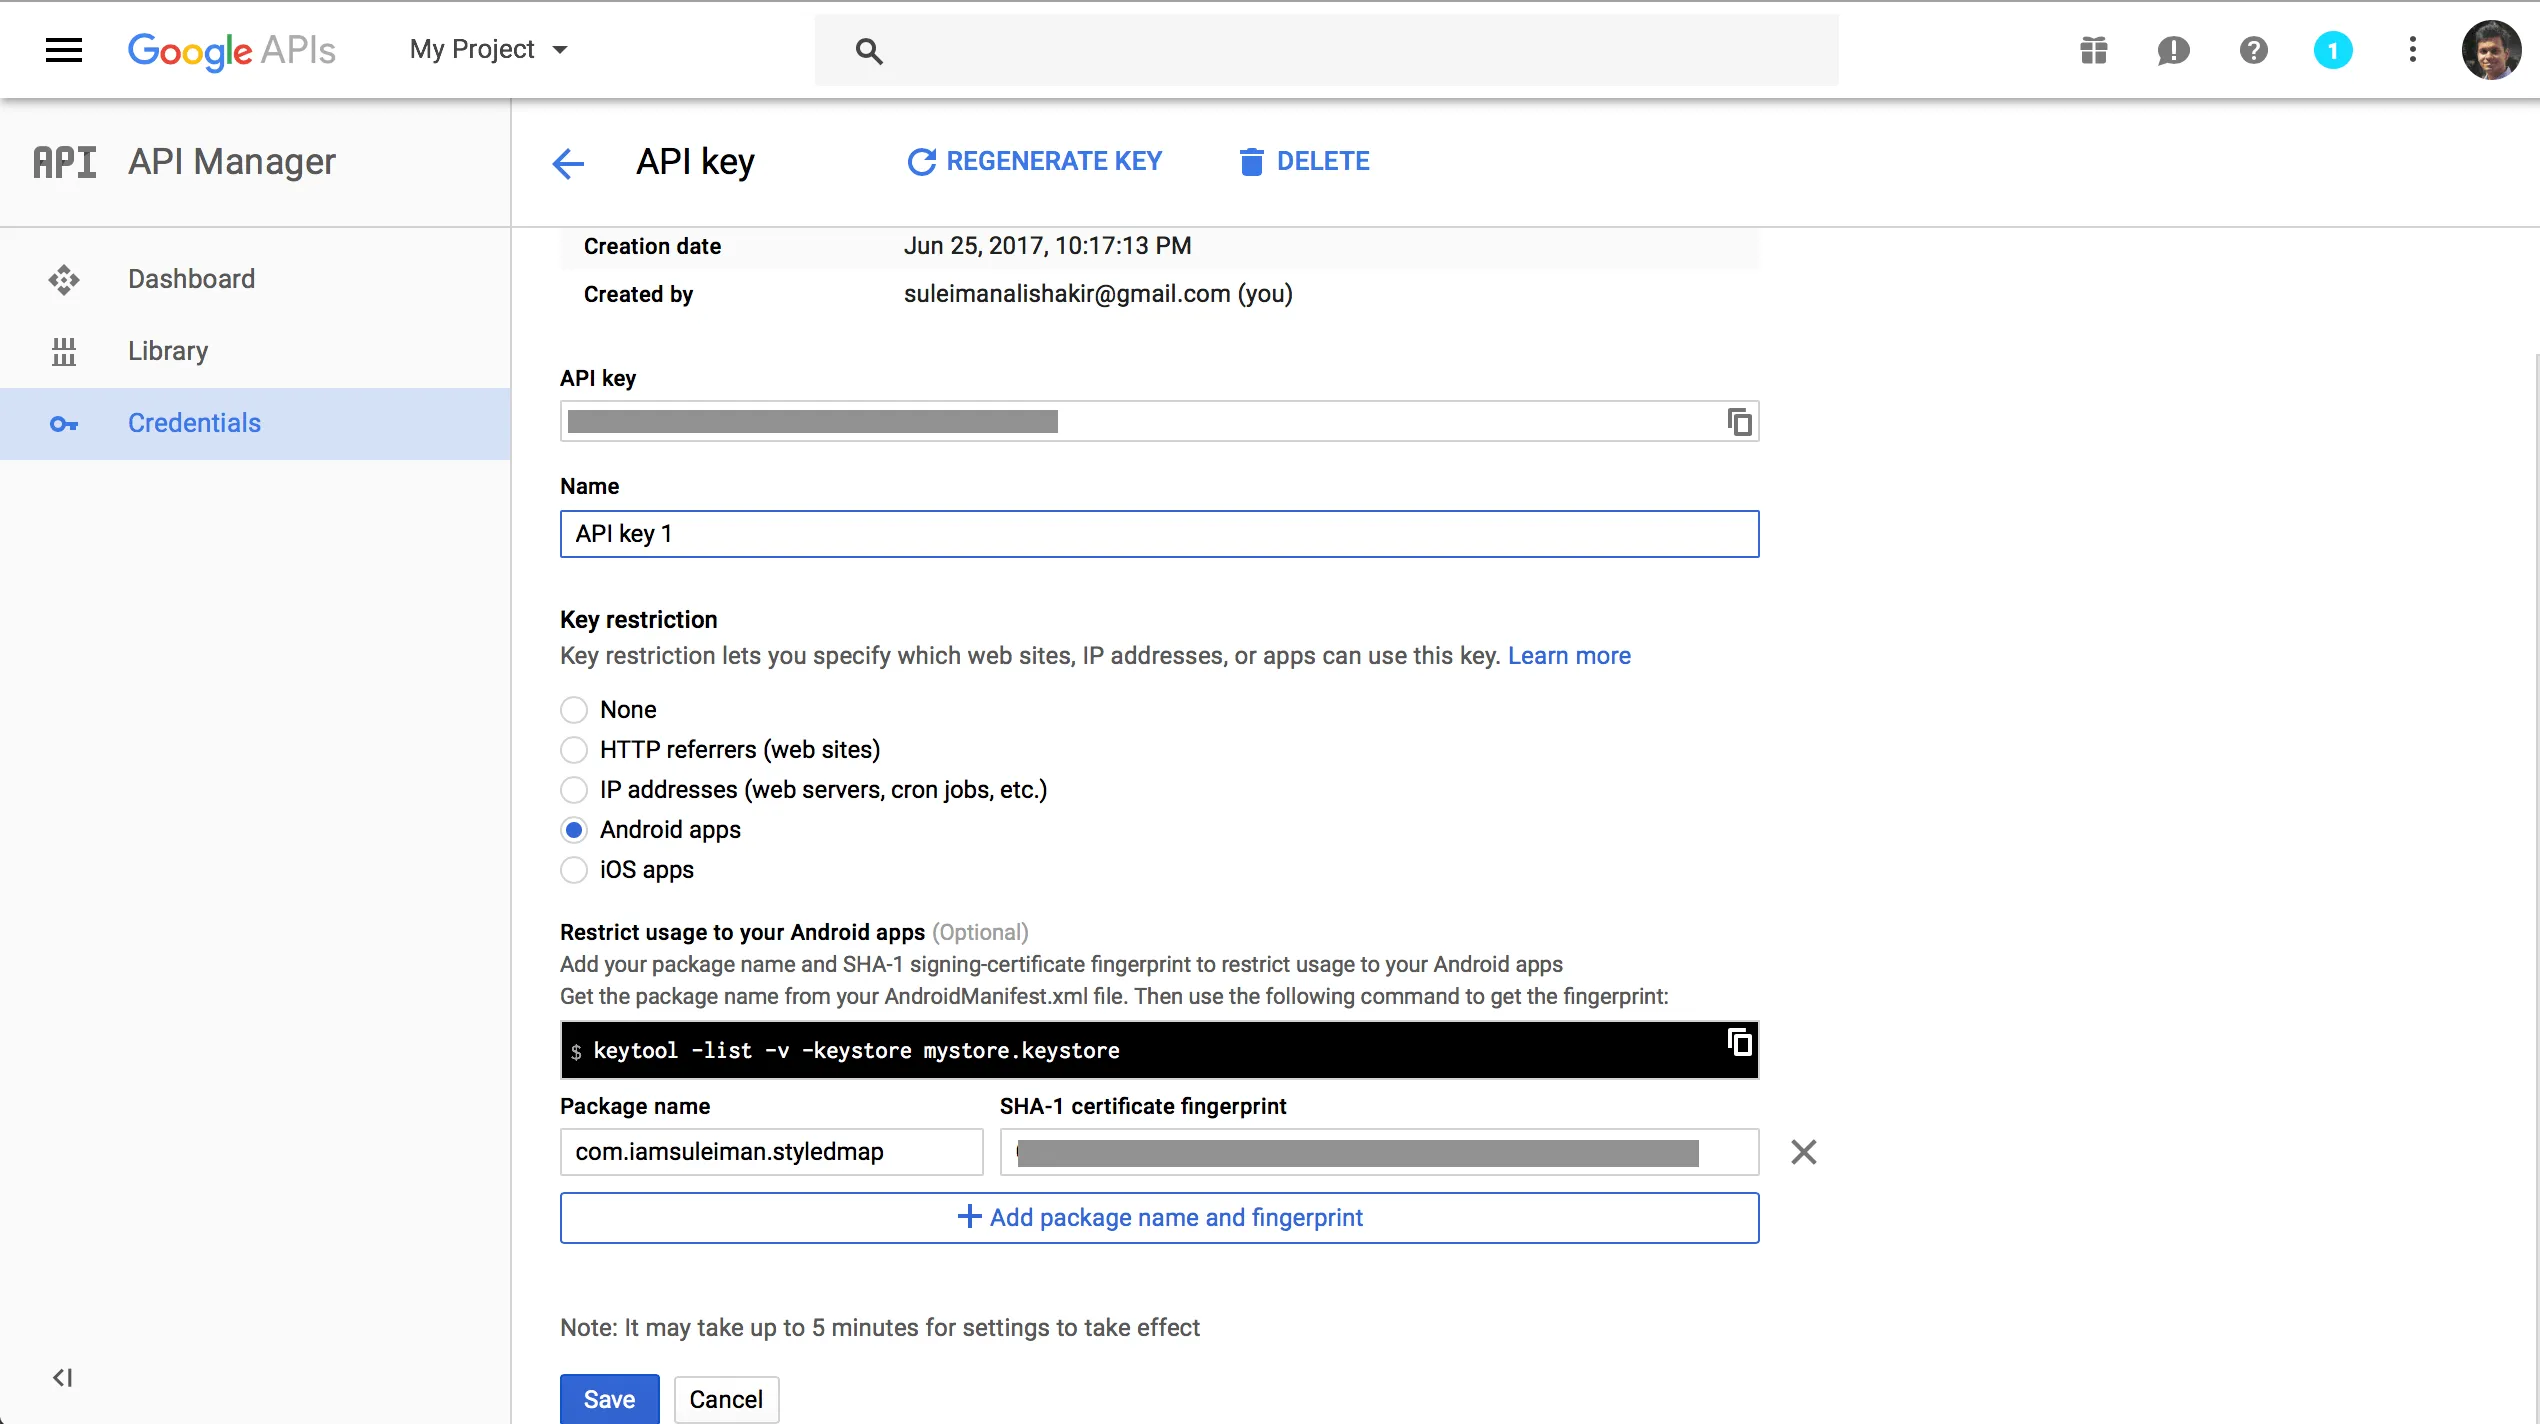
Choose ‘Key restriction’ as ‘Android Apps’ and hit Save button. Note that you don’t have to bother about the Package name and SHA-1 certificate fingerprint. You’ll realize that the fingerprint is same as the one in your Android Studio project comments. In other words, Google took care of that for you too. Sweet? Now let’s move on. With our API key in place, we’re finally ready to use Google Maps. But before we get to styling, let’s check if Maps itself works. So run your app and check it out. It’s always better to test every step of the way. Otherwise, you’ll never know what went wrong where. NOTE: Google Maps needs Google Play Services to work. So it’s safe to always run the app on a real device. Or, you can configure and use an AVD that includes Google APIs with Play Services. Here’s how Google Maps loads on my phone.
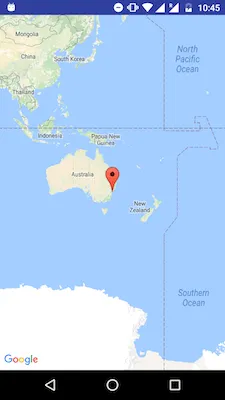
It works just fine. So let’s finally move on to styling it.
Using Styled Maps
Google Maps can load styling options via two different formats: 1 - JSON file You load the JSON file in the onMapReady() method.
@Override public void onMapReady(GoogleMap googleMap) { try { // Customise map styling via JSON file boolean success = googleMap.setMapStyle( MapStyleOptions.loadRawResourceStyle( this, R.raw.style_map_json));
    if (!success) {
        Log.e(TAG, "Style parsing failed.");
    }
} catch (Resources.NotFoundException e) {
    Log.e(TAG, "Can't find style. Error: ", e);
}- String resource Using a string resource works in a similar way.
@Override public void onMapReady(GoogleMap googleMap) { try { // Customise map styling via String resource boolean success = googleMap.setMapStyle(new MapStyleOptions(getResources() .getString(R.string.style_json)));
    if (!success) {
        Log.e(TAG, "Style parsing failed.");
    }
} catch (Resources.NotFoundException e) {
    Log.e(TAG, "Can't find style. Error: ", e);
}
Now we know how to load our Map styles. But how do we actually create our style? Let’s look at that next.
Creating a Color Theme for Google Maps
I’ll put it bluntly. There are two ways you can go about it. One, write a JSON file. Manually writing every property (do you even know them?). Or two, using the Map Styling Wizard. In other words, save yourself time and frustration. Go with the second option. Use the Styling Wizard. It’s a no-brainer. Seriously!
Google Maps Styling Wizard
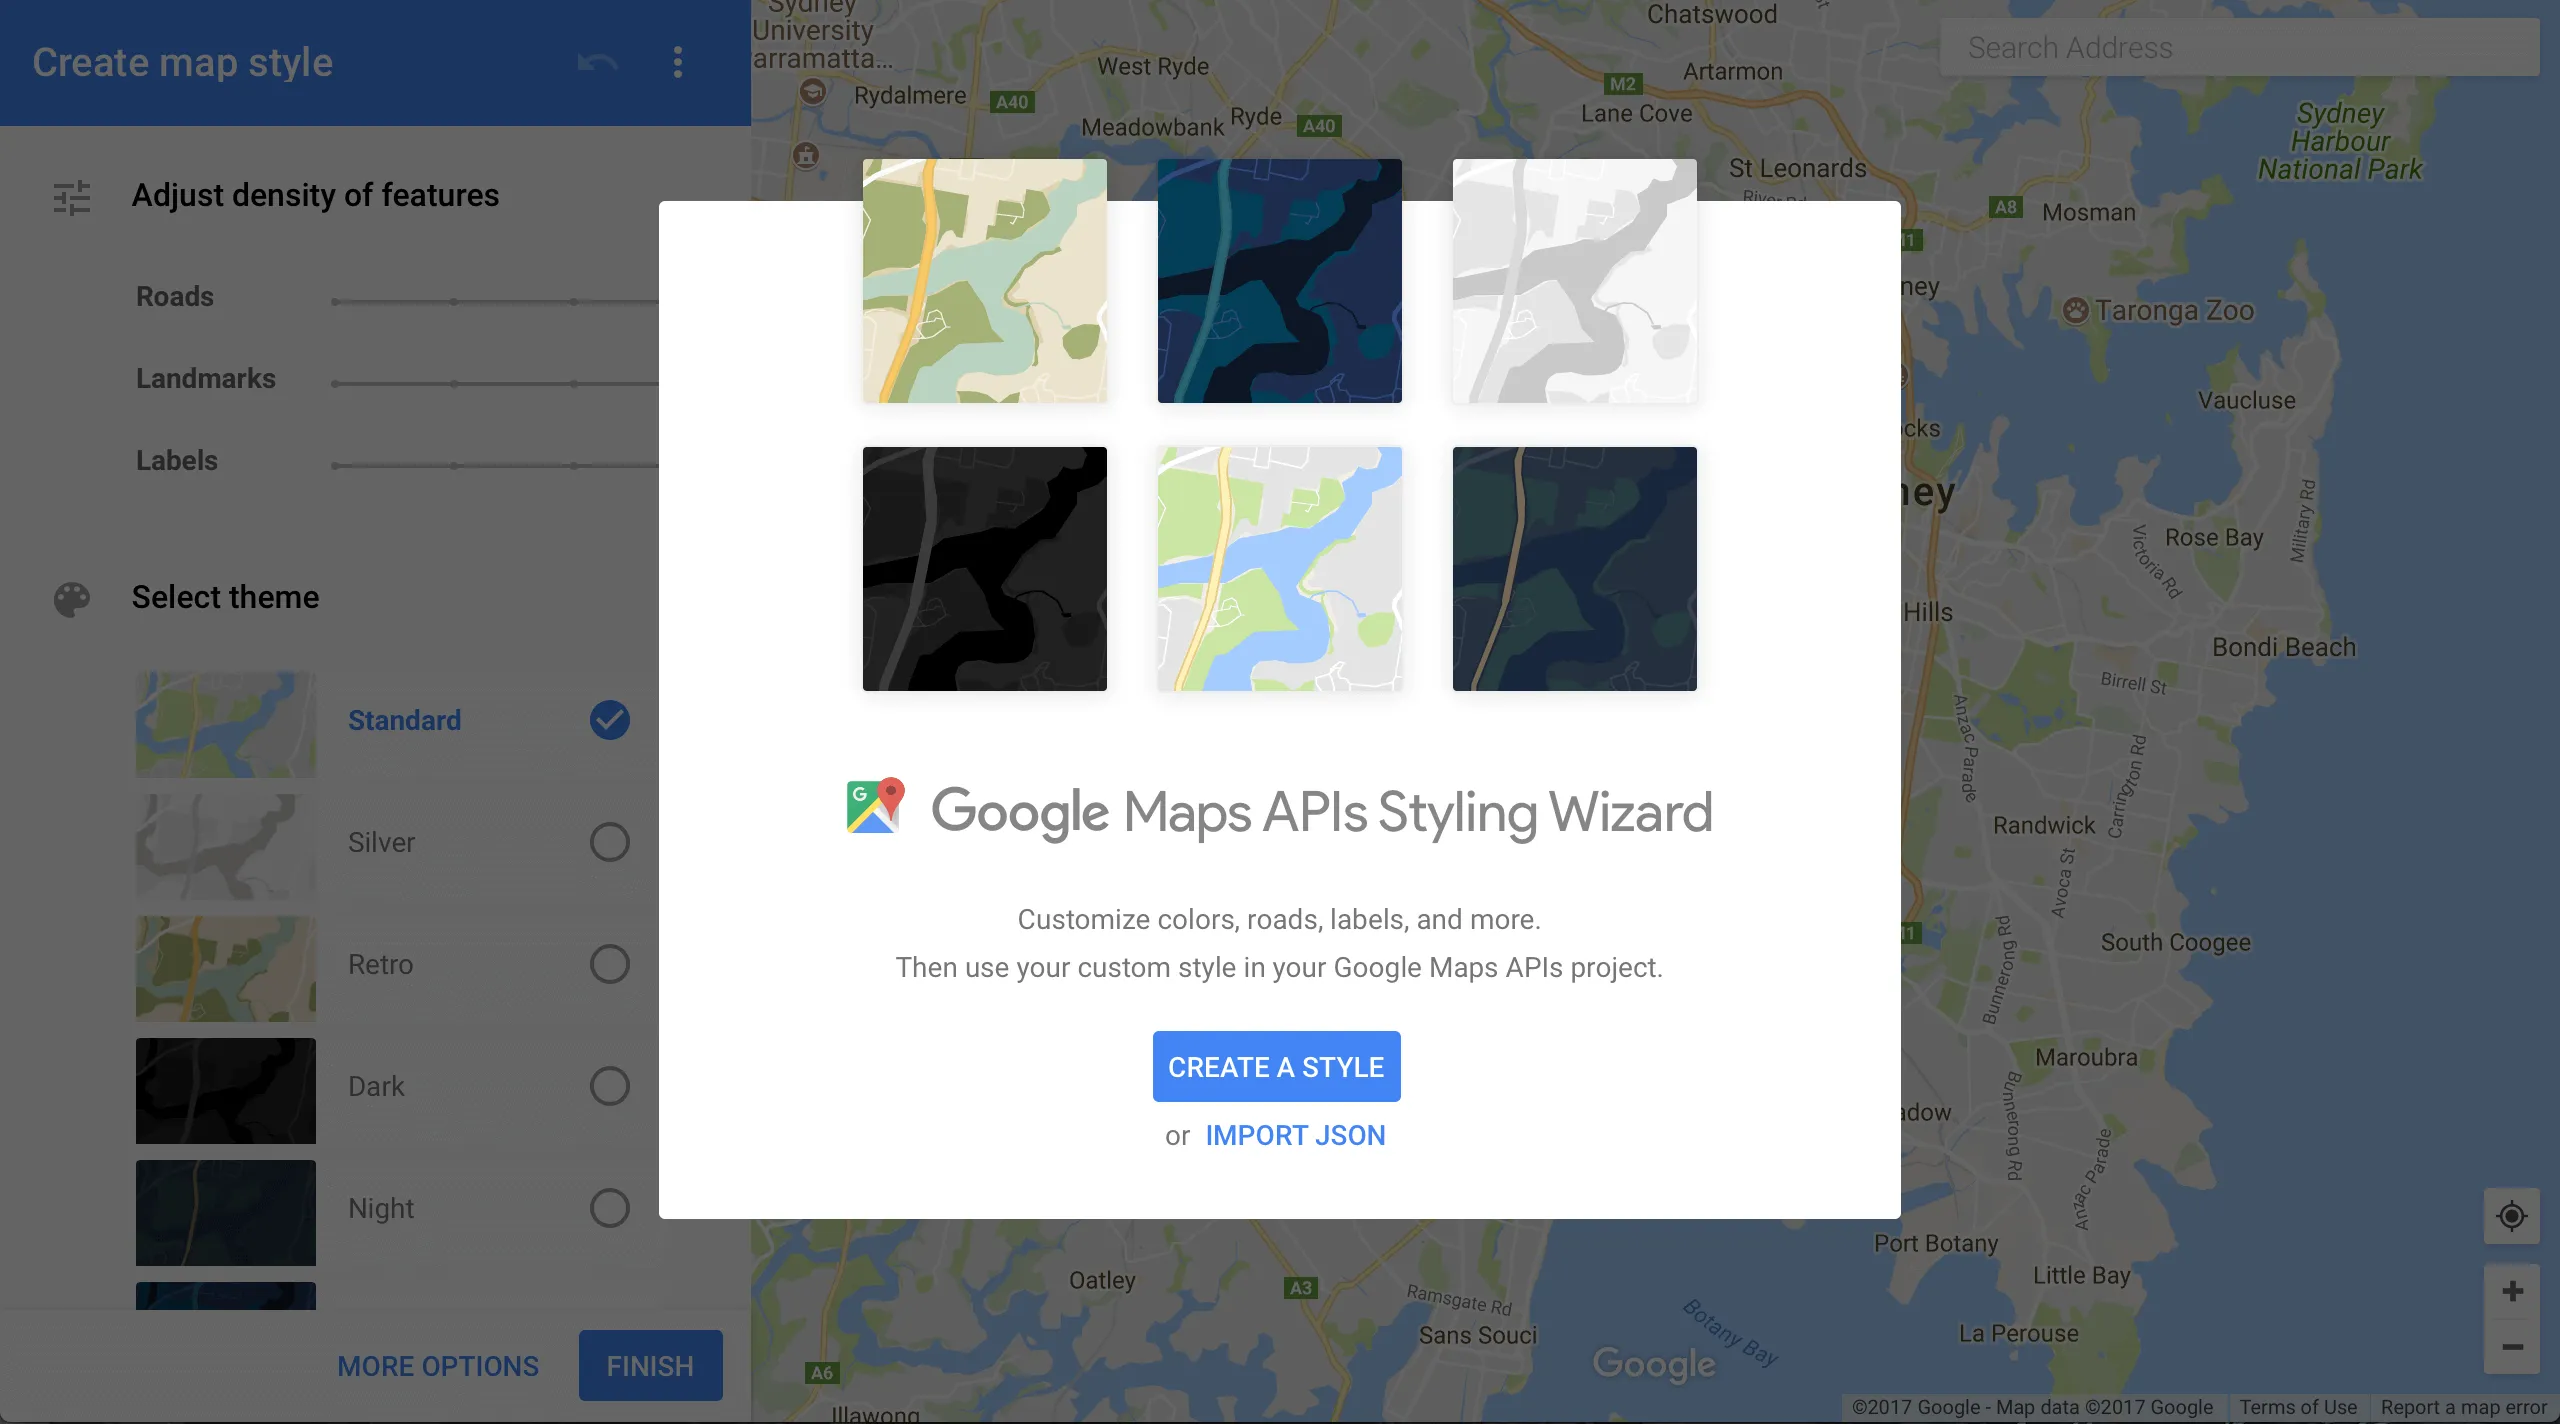
For this part, you just play around with the Styling Wizard. Adjust the density of features depending on how much detail you want on the map. Then select a basic, pre-defined theme to work with. Finally, you can click on ‘MORE OPTIONS’ to alter the properties of each Map object. Trust me, there’s a LOT of things you can customize that it’s easy to get lost.
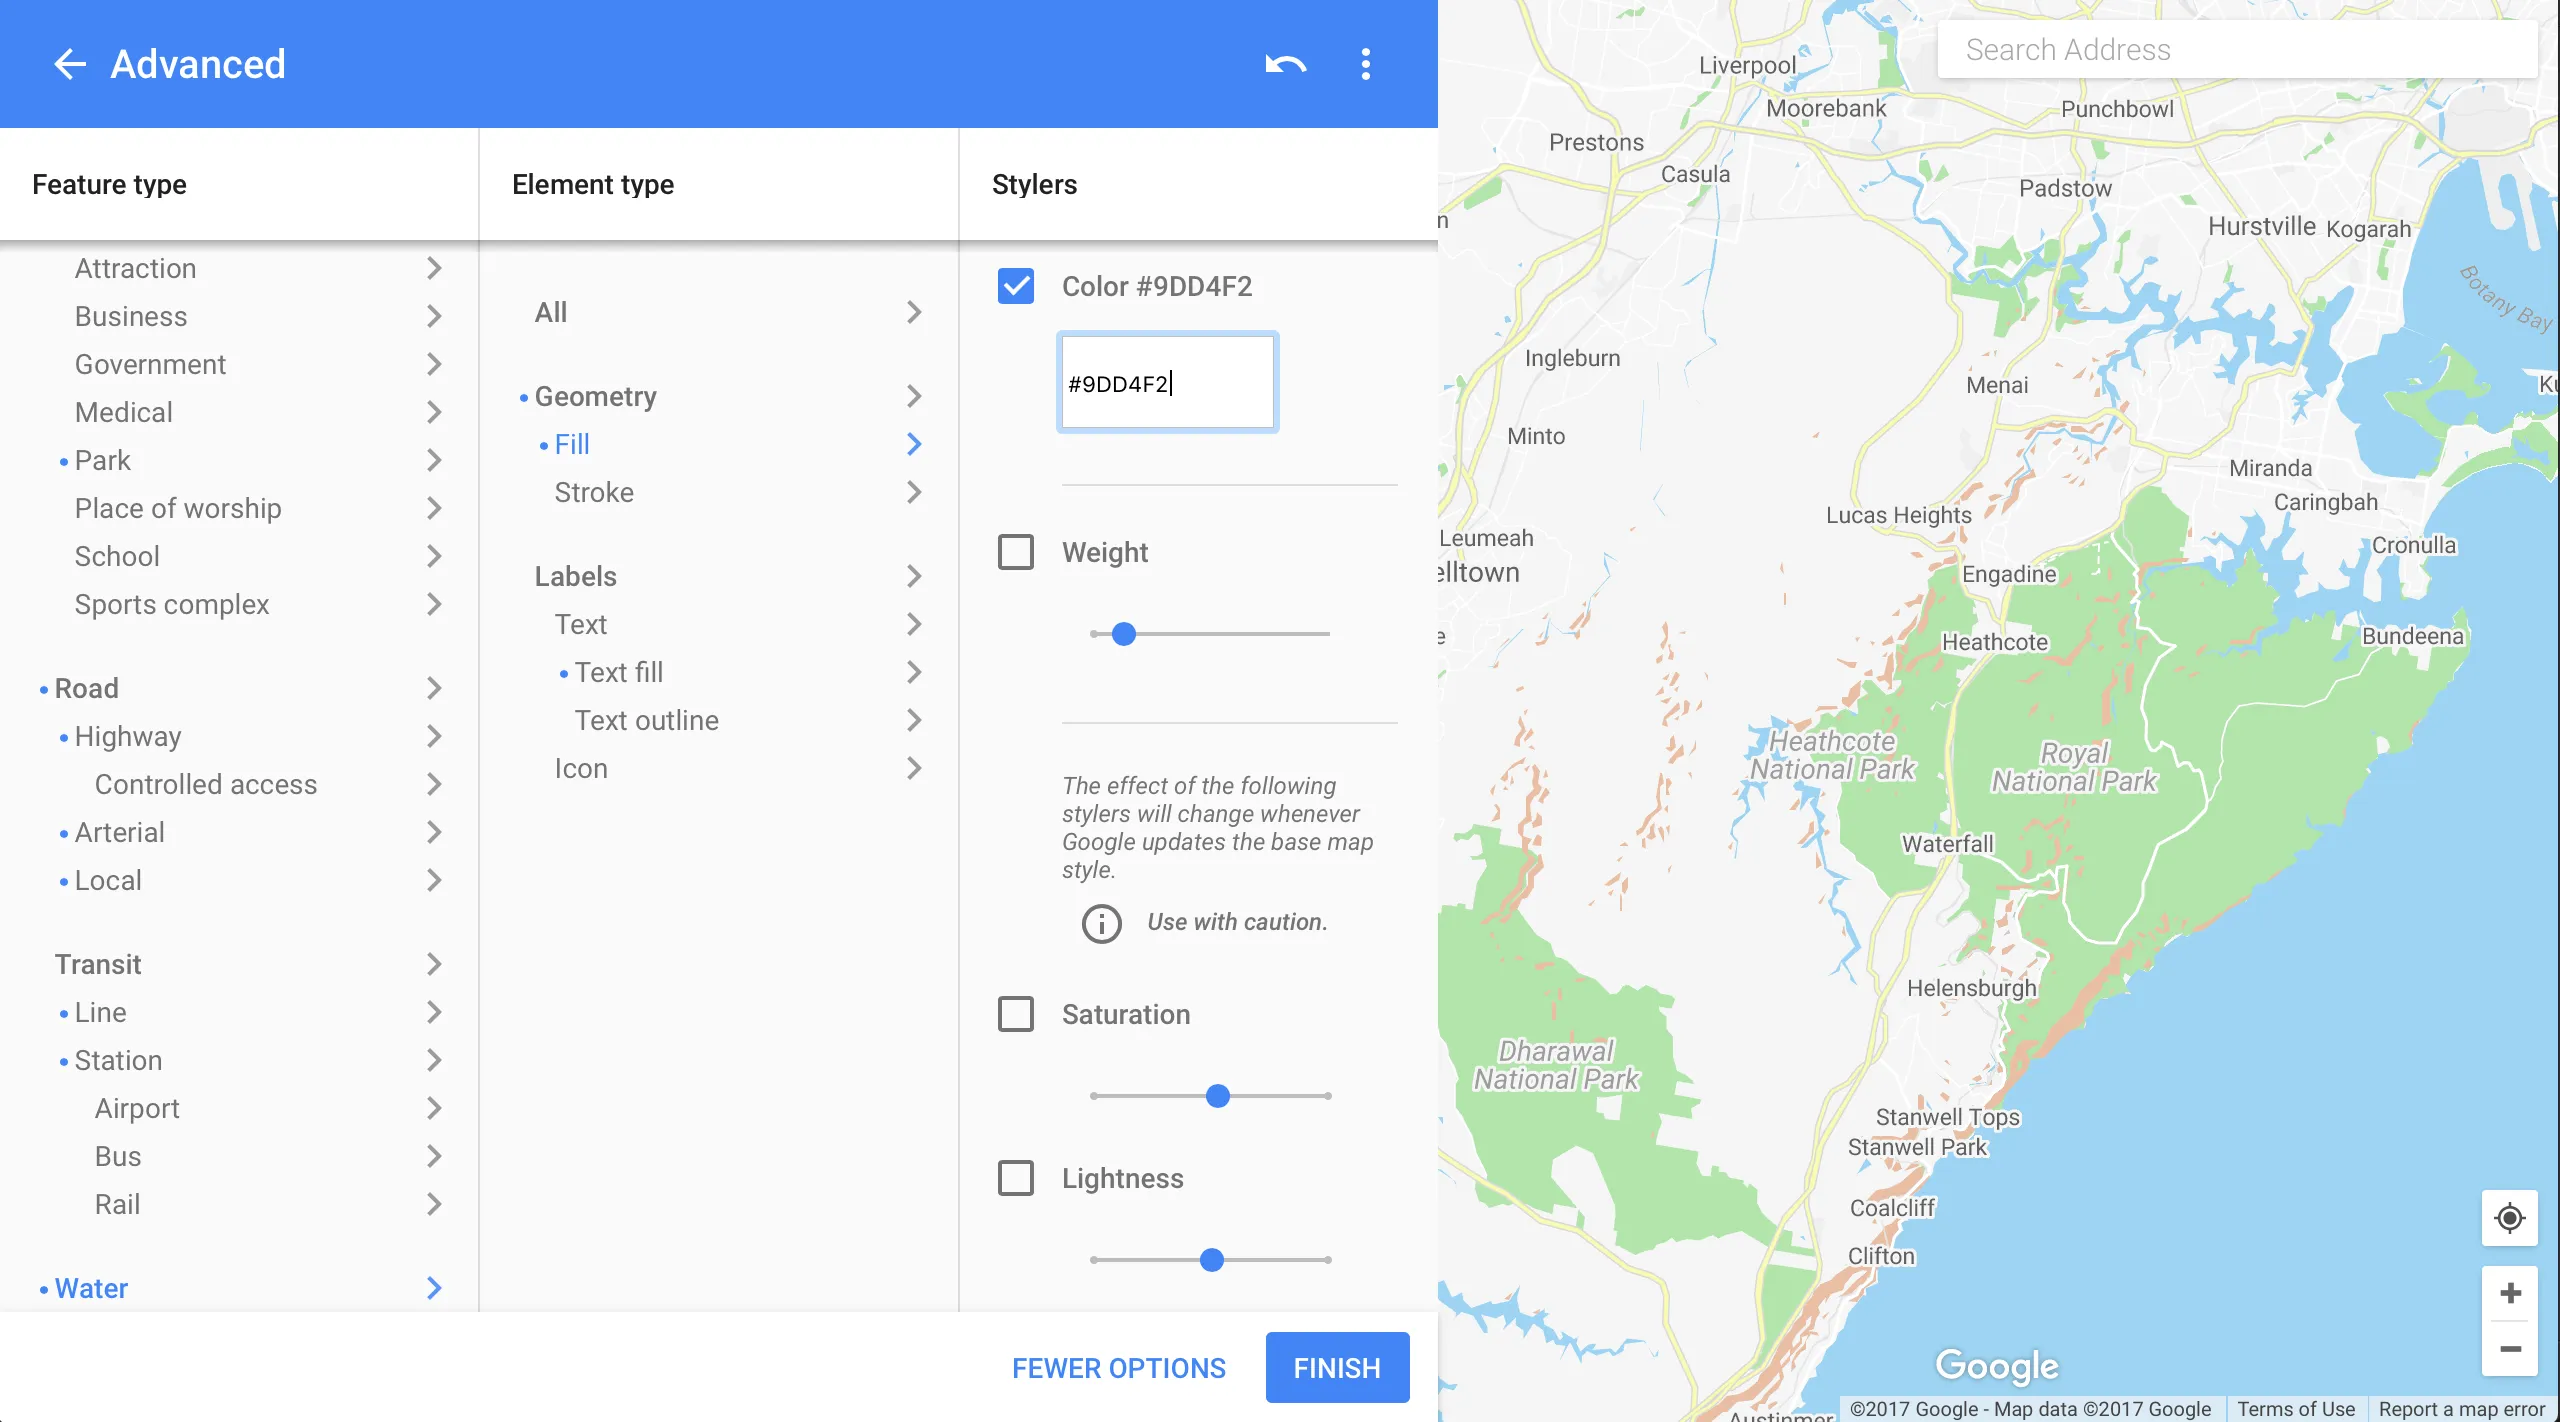
I’ve chosen very light, pastel-like colors for the map. These are colors mainly for the terrain, parks, water and highways. Once you’re done, click the FINISH button. Next, copy the JSON from the popup that appears.
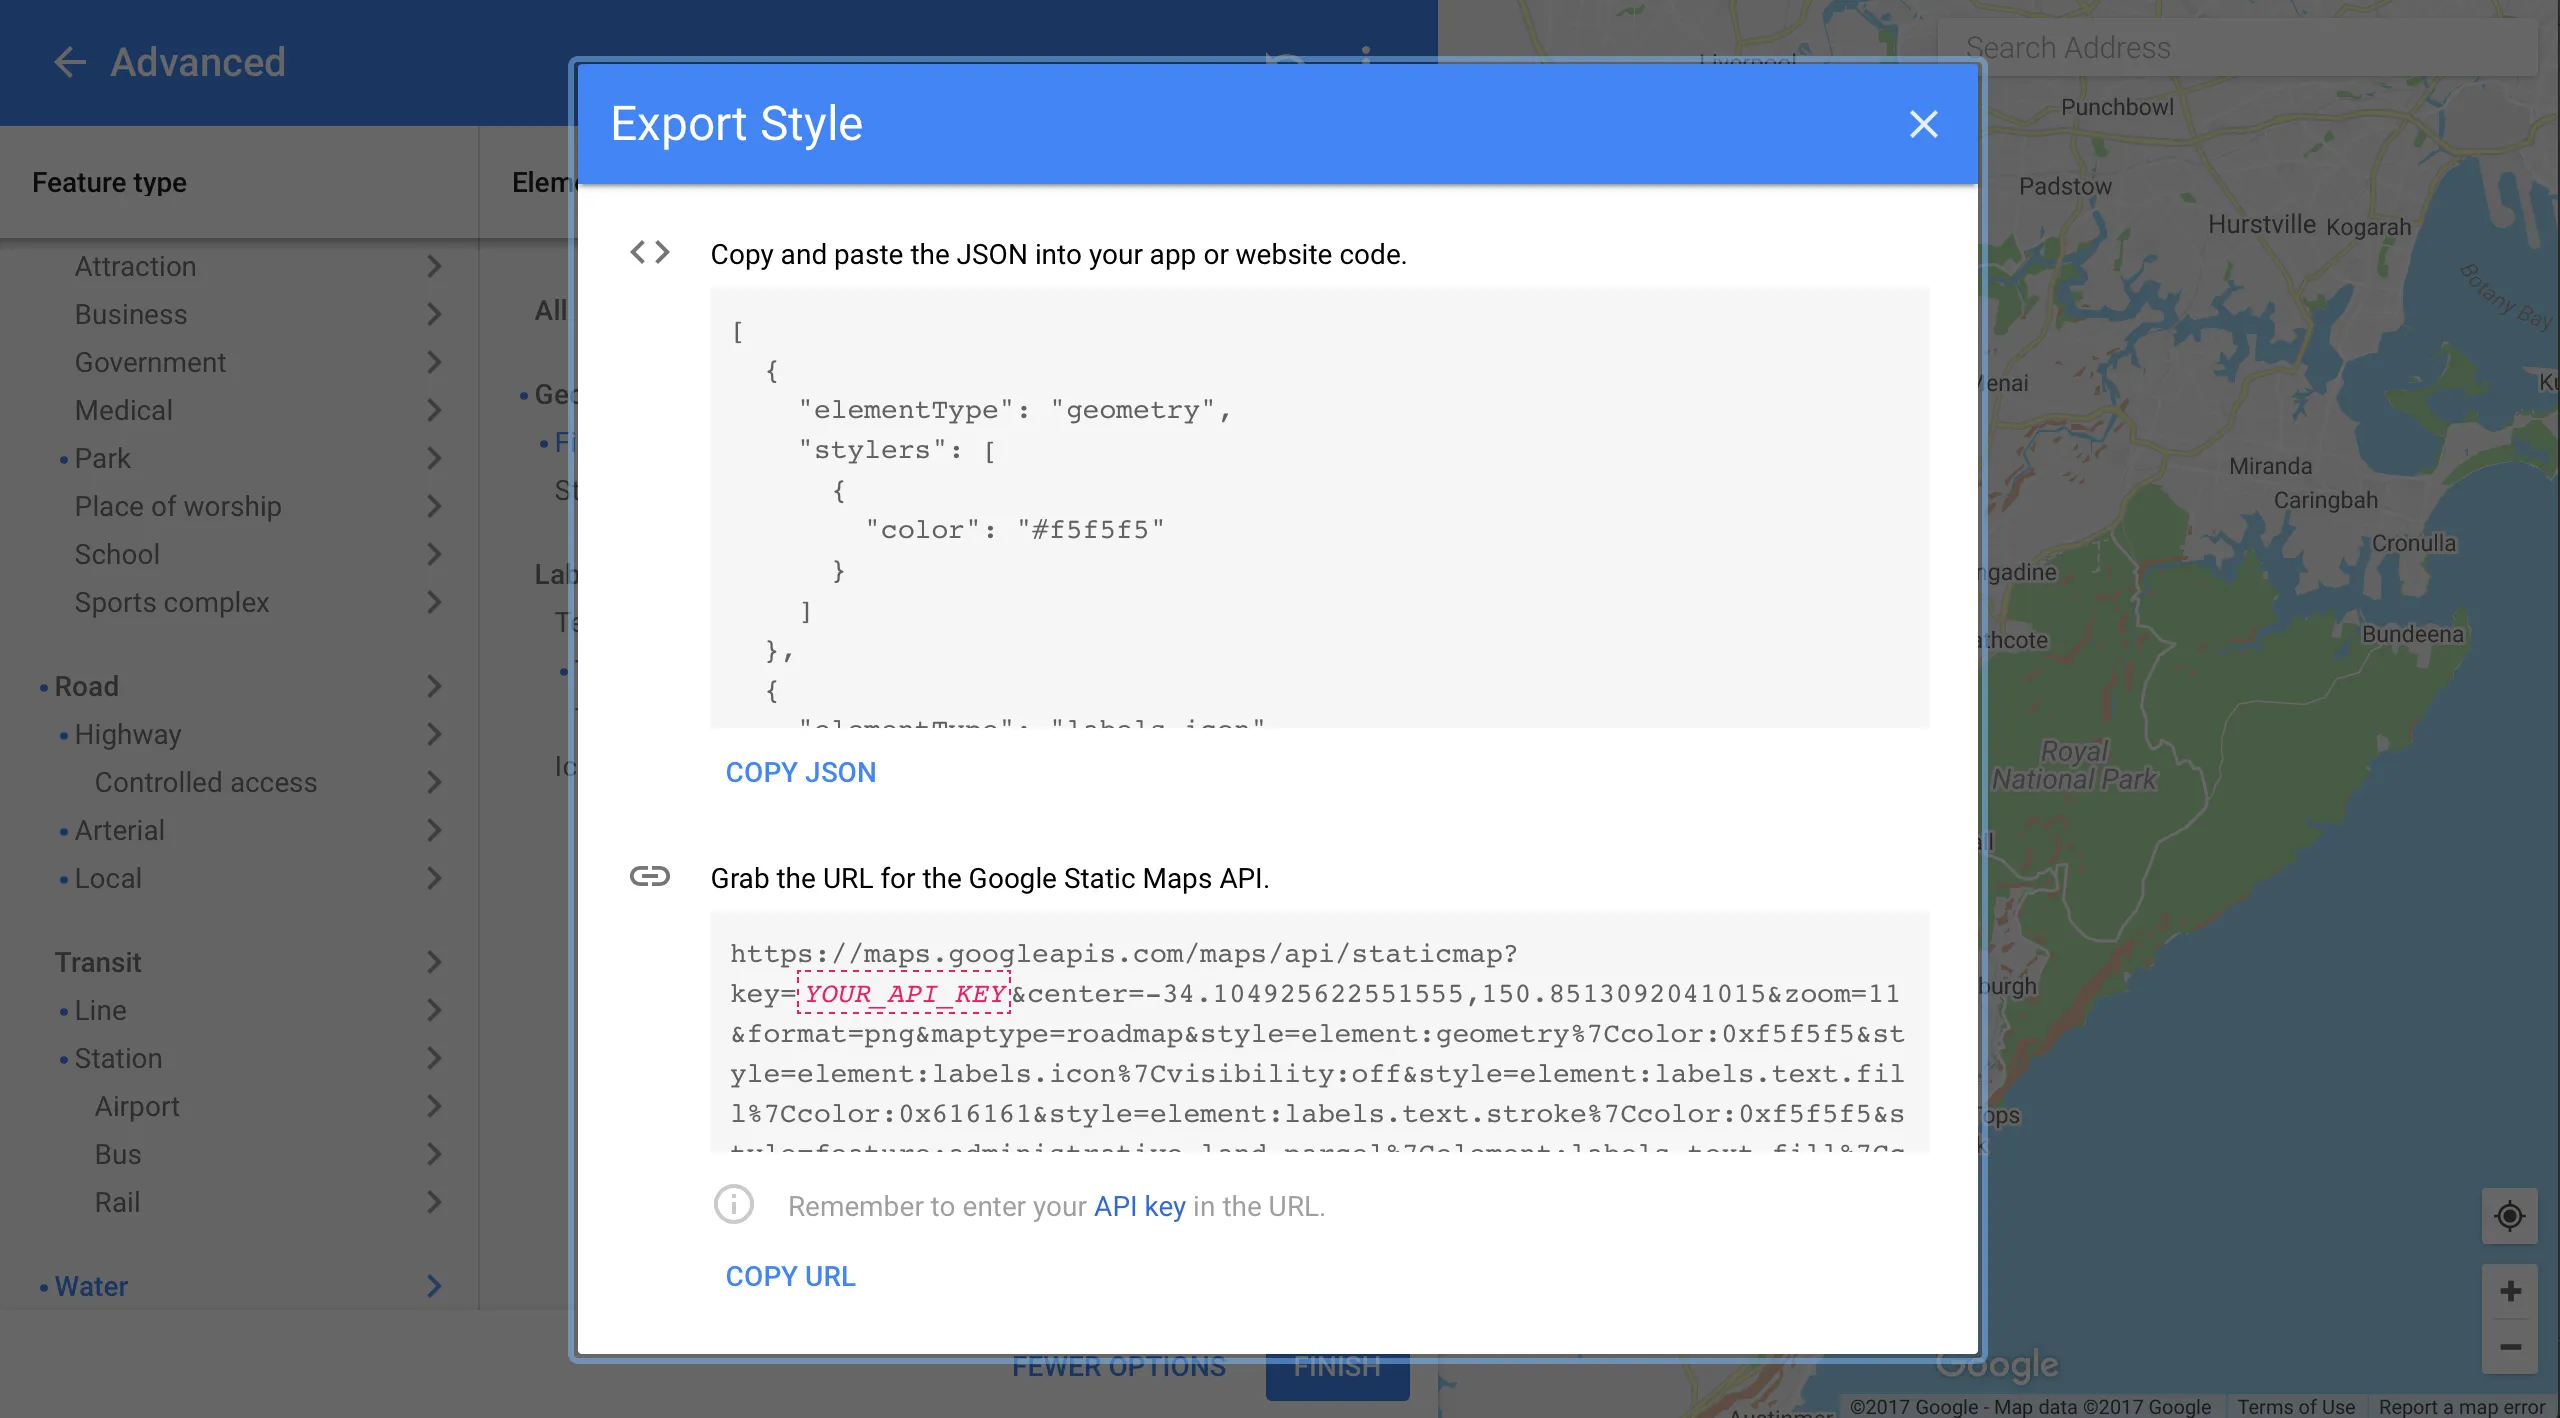
Head over to your Android Studio project and create a new file under Project/app/src/main/res/raw/maps.style.json. This JSON file is where we’ll paste the JSON copied from the Maps Style Wizard. Now all that’s left is to tell Google Maps to load its style from this JSON file. Remember we spoke about how to do this in the onMapReady() method? Let me remind you again. Now that we have our JSON file ready, we can call it in like this. Open MapsActivity.java and go to the onMapReady() method. The template has this method already implemented for you. So with the default template existing, here’s how to load the Styled Map.
@Override public void onMapReady(GoogleMap googleMap) { mMap = googleMap; try { boolean success = mMap.setMapStyle( MapStyleOptions.loadRawResourceStyle( this, R.raw.maps_style));
    if (!success) {
        Log.e(TAG, "Style parsing failed.");
    }
} catch (Resources.NotFoundException e) {
    Log.e(TAG, "Can't find style. Error: ", e);
}
...
}
It’s actually just one line of code. The try catch block just makes it look verbose. With Styled Maps now loaded, run your app and check it.
Styled Maps - Output
Based on the colors I chose against a Grey- themed Google Map, mine looks like this.
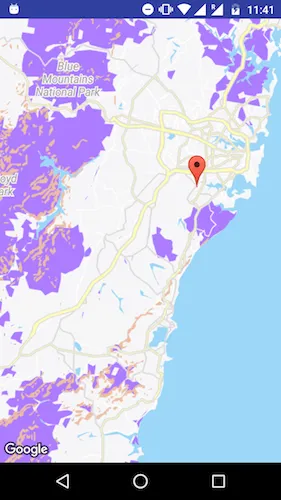
I changed parks to purple color. Just so I visually know that Styled maps are working. I know it’s an ugly map. But I’m sure you can do better!
Wrap Up
In this Android tutorial, we saw how to Style our default-looking Google Maps. First, we created an Android Studio project, using the Maps Activity template. We then created an API key to use with Maps. Next, we used the Maps Styling Wizard to configure Google Maps to our liking. Then, we pasted the generated JSON over to our project. Finally, we told Google Maps to load its styling from that JSON file.
Where to from here?
That’s all there is to it! With Styled maps, it is now possible to customize Google Maps to be more relevant to your app color-scheme. No more out-of-place looking Maps. If used properly they can now blend well with your UI designs. How are you going to customize your map? I’m very interested to see what you’ll come up with. Show me in the comments below. Header Image Credits: Asar Morris