
Choosing to hand-code your UX portfolio can be an ambitious, yet daunting task. Your portfolio website is perhaps the most important avenue to display your experience, skills, and values as a designer.
With that said, you want to put your best foot forward. Having complete control in how you do this is what development (hand-coding) can offer albeit at the cost of time and increased effort.
A majority of that time could go into choosing the right set of tools for web development. Especially, when there’s a multitude of options to choose from that do similar things. It is important to choose tools that are not only easy to understand but speed up our workflow.
Even then, making a choice and then sticking with it can be hard, especially when you discover a blocker later down the road.
That’s what I’m here to help you with.
Welcome to Part 3 of the ‘Build your UX Portfolio from Scratch‘ series!
In this part, I’ll help you look at different available web technologies, their pros, and cons and finally help you decide the right toolset to develop your UX portfolio.
Developing your UX portfolio consumes considerable time and effort. But it grants you complete freedom and control over how you want to showcase yourself, making the trade-off worth it.

Previously in Part 2, we designed our UX portfolio by going through the entire design process. By this point, I assume you have a UX portfolio website design ready to go for development. If not, I strongly suggest reading Part 2 - It includes a lot of resources to inspire you and how to effectively design your portfolio.
New to the Build your UX portfolio series? Start with Part 1.
Build your UX Portfolio Series
This tutorial is broken up into several parts:
Part 1: Getting Started
Part 2: Design
Part 3: Choosing A Web Stack
Part 4: Setting Up Your System To Start Development (Coming Soon)
Part 5: Understanding Your Project Environment (Coming Soon)
Part 6: Getting Dirty With Code (Coming Soon)
Part 7: Optimizing Your Portfolio For Speed (Coming Soon)
Part 8: Launch your Website (Coming Soon)
Overview
Typically, I’d call this section ‘Getting Started’, but that’s Part 1.
When starting to look for web tools, it helps to fully know exactly what you need in terms of features and functionality. Before we actually put our ‘research expertise’ to use on Google, remember this rule of thumb
Prefer popular tools that have a huge community behind it.
Why you ask?
- Online help (Stack Overflow) when you’re stuck, not knowing how to do something
- Strong tool development support with plans for the future
- A low number of bugs (no bugs is near impossible) with workarounds
- A large number of other tools that will work nicely with it, sometimes offering very easy plug and play options
So keep this in mind when you’re trying to find something suitable for your needs.
With that said, what do we actually need?
Type of Tools Needed for your UX Portfolio
In a broad sense, we need 3 types of tools:
- a Text Editor
- a front-end (CSS) Web Framework
- a Build System
Don’t panic if any of this doesn’t make sense to you. I’ll explain below what each one is, why we need them and a curated selection of each kind to choose from.
NOTE
None of the tools I recommend are promotions or sponsored content that I’m trying to sell to you. They are all my personal opinions which I say from experience.
1. Text Editor
We briefly looked into text editors in Part1 - Getting Started. Even so, I’ll briefly cover them here.
Text editors can help us code faster with powerful features such as:
- auto-complete
- syntax highlighting
- useful find and replace features
- extensibility (ability to add more features via plugins)
However, our focus on our UX portfolio website is going to be a text editor. Something lightweight and fast. Remember, nothing over the top!
Here are the 3 most popular ones.
Sublime Text 3
A sophisticated text-editor built for speed and extensibility
- Super fast to use
- free trial forever
- Plugins
Atom
Free, open-source text editor by GitHub
- Easy to use and great UI
- Packages
- GitHub integration
Visual Studio (VS)
A fast and powerful IDE by Microsoft
- powerful IDE
- great refactoring tools
- advanced features and complexity
While Visual Studio is popular, it is an IDE that might be overkill.
NOTE
Text Editors are NOT IDEs (Integrated Development Environment)! Both are two very different things. Text editors are more lightweight while IDEs are more robust including more powerful and complex features.
The Sublime Text VS Atom debate happens a lot around the internet. There isn’t anything that one has that the other doesn’t that could be a possible deal-breaker.
READ
IDEs VS Text Editors – When to use what?
I have used both extensively and can personally say that it all comes down to personal preference. I used Sublime Text before and recently have gravitated more towards Atom because I like the interface for managing my packages.
To build this specific iteration of my UX portfolio, I used Atom. For the previous iteration, I used Sublime Text. I can’t really say much for VS Code. While it’s powerful, I also find it fairly complex to use for a project of this simple scale and complexity.
If you have trouble deciding, here’s a comparison of all 3 which help give you perspective.
So go ahead, try and pick one which you like. I promise that your choice won’t be a hinderance for this tutorial.
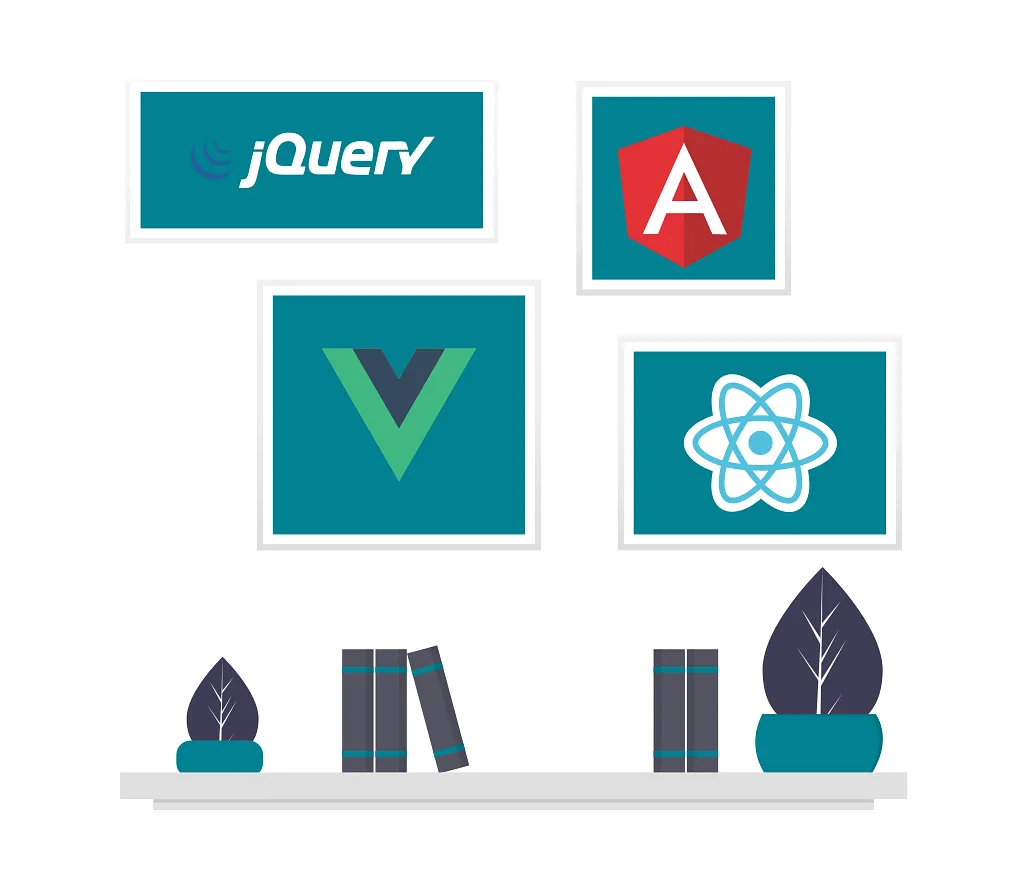
2. Front-end Web Framework

To put it in very plain words, it is a CSS framework that’ll help you speed up your web development (front-end).
A good framework includes provides you with the following features:
- A responsive grid with strong support for ‘mobile-first’ design
- Collection of customizable components (buttons, forms, tabs, tables, etc) to use in your website
- In-built functionality for adding interactivity
- All in all, easy to use, extend and modify
Keeping that in mind, here are some popular frameworks.
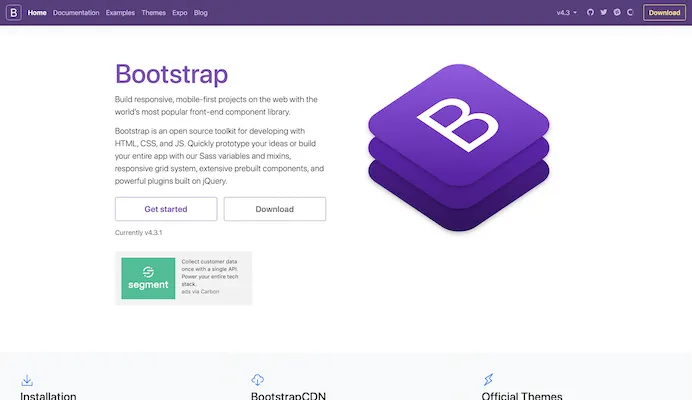
Bootstrap 4
This is the most popular front-end component library for building responsive projects.
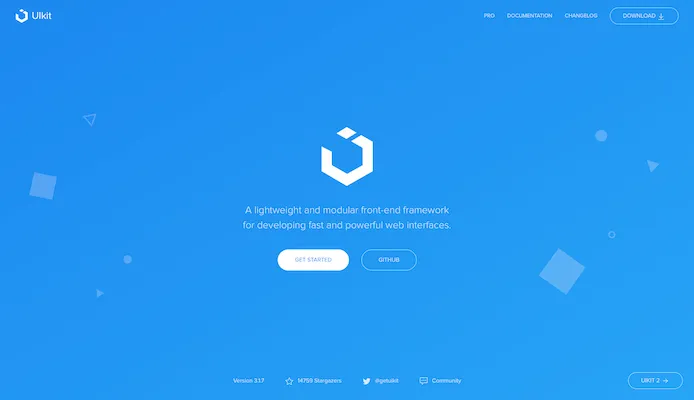
UIkit
A modular, lightweight CSS framework with many useful components for small-scale projects.
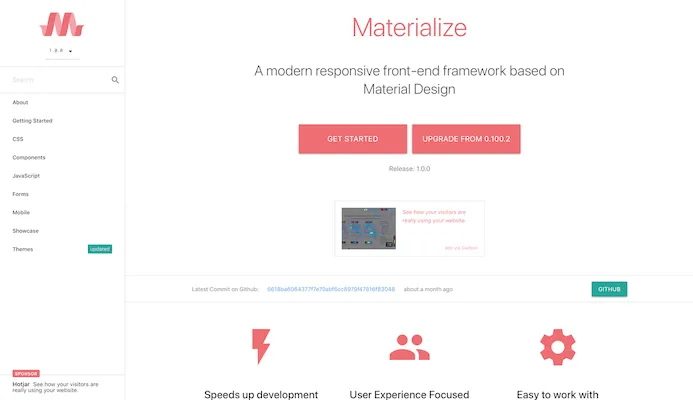
Materialize CSS
A CSS framework that’s based on Google’s Material Design
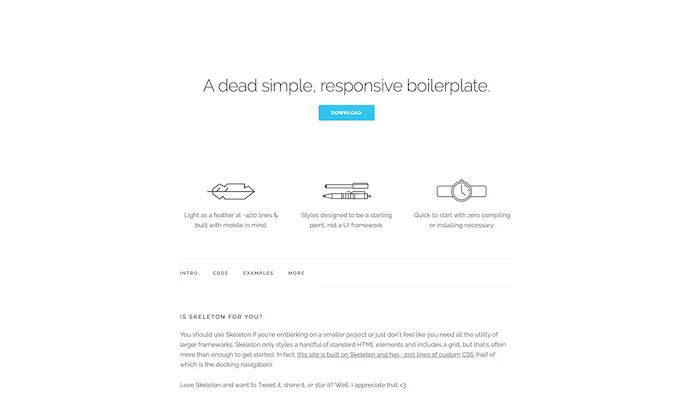
Skeleton
Extremely simple and lightweight responsive framework (just 200 lines of code).
Limited in functionality. Use with caution!
Some other frameworks worth looking into include:
- Foundation
Most advanced responsive framework. Best suited for large-scale, complex enterprise-level projects. - **Semantic UI
**A framework designed with ease of use and natural naming of classes - Bulma
A (relatively new) modern, elegant, free, open-source framework that’s quick to pick up - **Pure CSS
**A framework with a small footprint. Includes responsive CSS modules for quick use
Again, picking the right one here is more of personal preference. But keep this in mind when choosing a framework you like.
The more robust a framework is (lots of components, features, etc.), it comes with great support but larger will be the learning curve and complexity of use. While simpler, smaller frameworks can be quick to pick up and use, they can quickly become limiting and may not have everything you need and with lesser community support.
In plain words, by community support, I mean that when you get stuck at some point, you most likely could be on your own since Stack Overflow might not have an answer for you.
NOTE
Pick whatever you like. But take your time and think carefully on your choice because unlike Text Editors, swapping out CSS Frameworks can be a pain!
But don’t fret because, if you’re unsure of what to choose, pick Bootstrap.
RECOMMENDED FRAMEWORK
For this tutorial, I will be using Bootstrap 4, the most popular and versatile framework. It is the most safe option which is quick to use which offsets the slightly higher learning curve.
If you’re thinking ahead, you might worry about things like, Bootstrap is large and includes lots of things that I won’t use. That is true, but there are ways to fix that (relatively simple) which I will address in future parts.
3. Build System
A Build System tool is a task runner that can help automate tasks that you otherwise would do manually. With a little bit of setup, the pay off is huge in terms of speed and time gain.
A build system can manage many things, saving you from performing repetitive tasks manually. Some of them include:
- dependency management
- watch your files for changes to automatically update changes
- combining multiple stylesheets, js into one
- automatically minifying/compressing source files and images
Here are some of the popular build systems.

Gulp
A popular, simple build system (task runner) to automate and enhance your workflow

Webpack
A popular bundler with powerful features.
Might require more complexity to configure!

Browserify
A module-based bundler that allows you to use Node.JS bundles directly in the browser
Get Browserify
Gulp VS Webpack VS Browserify - which is better?
Some other tools include:
**Tl;DR
**Gulp is a task runner which is simple enough to configure and quick to get us up and running. I will be using Gulp, keeping in mind its speed and simplicity.
I’ve found Gulp easy to use, so if you’re using the same, then I assure you that you’re in safe hands!
Final Tools in your Arsenal
To recap, we looked at the 3 different kinds of tools we need. Then we did a deep dive at each type and saw various available options.
Then, for this tutorial series I mentioned that I will be using:

In this article, I hope I’ve given you an overview of the different kinds of tools we need and a taste of the different choices available in each.
While I could’ve simply said we’re going to use these 3 tools right from the start. But I believe it’s fair to lay out what’s available to us, understand the options, analyze them and then make a meaningful choice.
Next Steps
Now that you have downloaded what you need, you’re probably wondering “Now how the heck do I set everything up and actually begin coding my UX portfolio?”
That’s exactly what I’m going to cover in the next part. In Part 4, I’ll walk you through setting up all these tools to play nicely with each other and show you how to use them!
In the meantime, if you liked what you read, share this article with others who are developing their own UX portfolio. If you have any questions or thoughts, let me know in the comments below.
Lastly, don’t forget to subscribe below to know first when Part 4 is out!
Part 4: Configuring your Web Stack (Coming Soon…)