A while ago, Google announced something really interesting called the Awareness API. According to Google Developers - Android Awareness API bridges the physical world of users, and the digital world of Android to help you build more assistive and context-aware apps.
The last sentence can be a bit confusing. So here are some examples that will help you realise how powerful the Awareness API is:
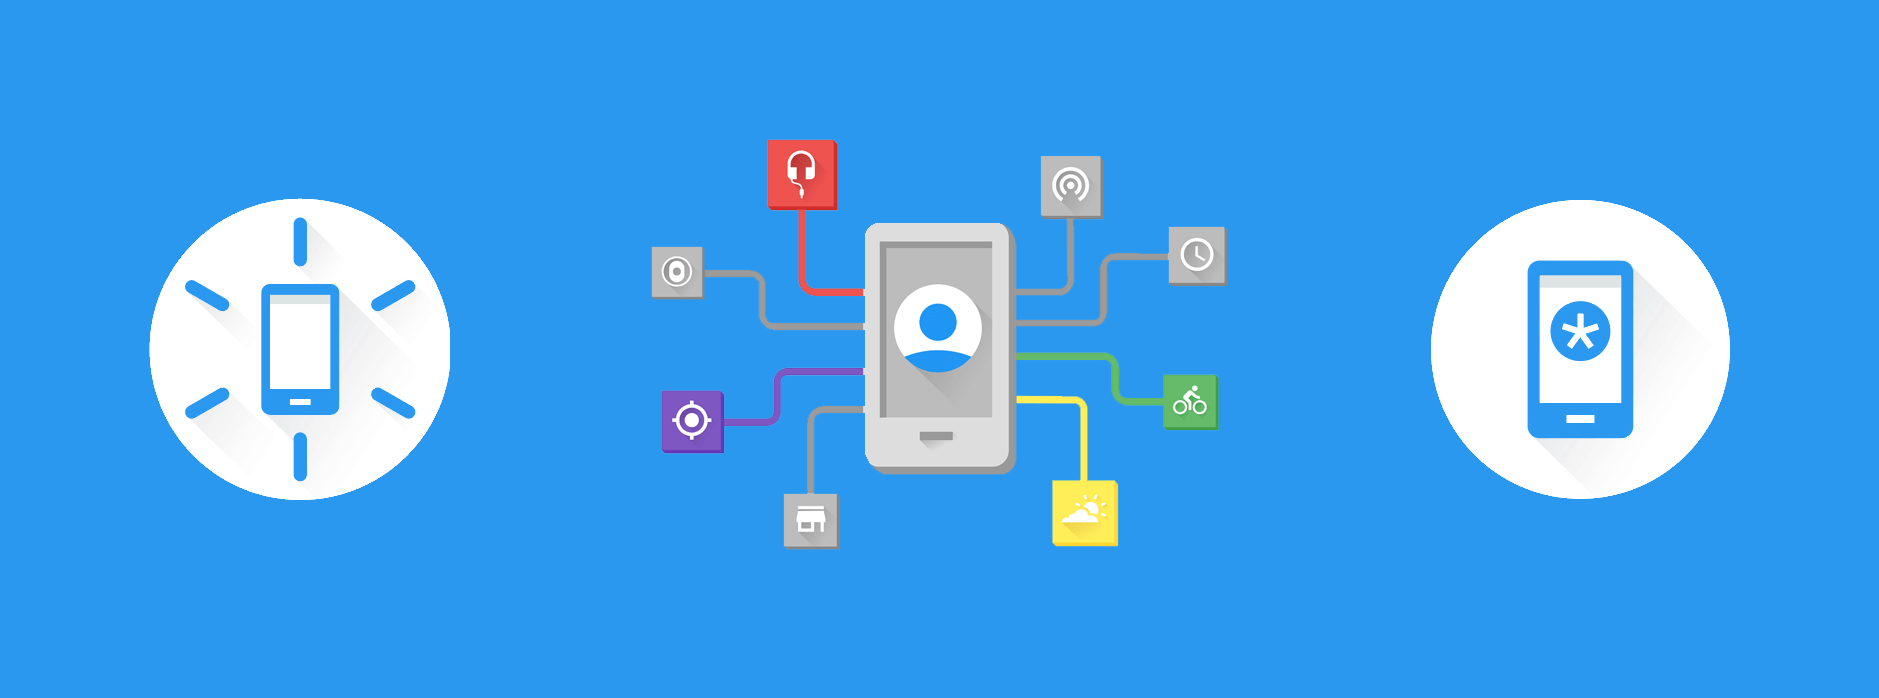
Imagine you pass by a pharmacy and your phone reminds you that you have to buy medicines. Or as soon you enter your car, your phone automatically connects to the car’s Bluetooth and your navigation app opens up in driver mode. Cool right? Awareness API makes this really easy.
Credits: Google
What does the Awareness API mean for us?
The Awareness API unifies 7 location and context signals in a single API.
Context is at the heart of the Awareness API
Let’s take a quick look at the 7 context types offered by the Awareness API.
- Time: Current local time
- Location: Latitude and longitude
- Place: Place, including place type
- Activity: Detected user activity (walking, running, biking)
- Beacons: Nearby beacons matching the specified namespace
- Headphones: Are headphones plugged in?
- Weather: Current weather conditions
Why use the Awareness API?
- One API to rule them all You just need to add a single API and you are set. No headache of using tonnes of different APIs.
- Battery and Data Friendly The API takes care of managing your battery life and data usage so that you can concentrate on features crucial to your app.
- Better context data Raw signals are processed for improved quality. For example, advanced algorithms are used to determine the user’s activity with a high level of accuracy.
Set up
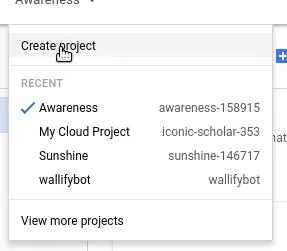
Awareness API is a part of Google Play Services and was introduced in v9.2. Let’s configure our project to use the Awareness API. Create a project on Google Developer Console
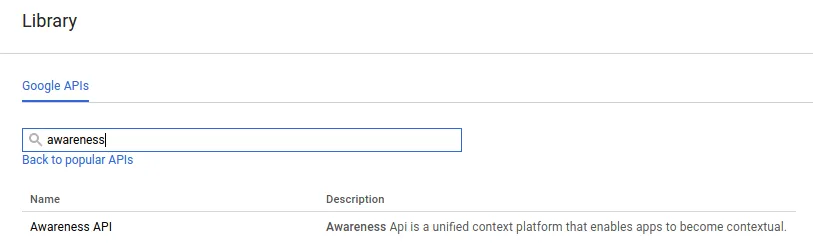
Go to the APIs Library and search for Awareness API. Then click on it and Enable it.
Next, go to Credentials > Create Credentials > API Key > Android Key. Enter the name of your project and click create. You will now be given an API key. Copy it down somewhere. Next, in your Android Studio project, add the following dependency in app/build.gradle.
dependencies {
    ...
    compile 'com.google.android.gms:play-services-awareness:10.2.0'
}
Add the following code to the <application/> tag of your AndroidManifest.xml.
Remember to replace “YOUR_KEY” with the API Key you obtained. That’s it! You are now ready to use the awesome Awareness API.
Fences and Snapshots
The Awareness API provides two distinct APIs:
- Fences: Helps detect changes in user’s context, or when certain context conditions are met. For example, show a notification when the user reaches a certain location. Or even when the user starts walking or running.
- Snapshot: Let’s your app request information related to the user’s current context. For example, what activity the user is currently engaged in.
In short, the Snapshot API helps you detect and identify changes in environment. Whereas the Fences API helps you react to those changes. In this post, lets keep things simple and go through the Snapshots API alone. We’ll talk about the Fences API in the next post.
Snapshot API
Remember the 7 context types we discussed early? It’s time to dive into some code now.
1. Time
We can get the local time by using Android’s Time API. Hence there is no separate function for Time in the Awareness API. But since we are diving into code, here’s how you can get the locale time.
Date date = new Date();
DateFormat dateFormat = DateFormat.getDateTimeInstance(DateFormat.FULL, DateFormat.FULL);
Log.d(TAG, dateFormat.format(date));
2. Location
Get the user’s coordinates. Since we are dealing with locations, we will need to make sure our app has Location permission. Here is a quick recap on how to handle runtime permissions on Android Marshmallow and above.
Awareness.SnapshotApi
		.getLocation(googleApiClient)
       .setResultCallback(new ResultCallback() {
           @Override
           public void onResult(@NonNull LocationResult locationResult) {
               if (!locationResult.getStatus().isSuccess()) {
                   Log.e(TAG, "Unable to get location");
                   return;
               }
               Location location = locationResult.getLocation();
               Log.i(TAG, "Latitude: " + location.getLatitude() );
               Log.i(TAG, "Longitude: " + location.getLongitude() );
           }
       });
The getLocation() method has a callback that returns a LocationResult object. Then, we can use the LocationResult object to get the user’s latitude and longitude. For that, we use the methods getLatitude() and getLongitude().
3. Places
Get places around user’s location. The following example shows getting a list of possible places:
Awareness.SnapshotApi.getPlaces(mGoogleApiClient)
             .setResultCallback(new ResultCallback() {
                 @Override
                 public void onResult(@NonNull PlacesResult placesResult) {
                     if (!placesResult.getStatus().isSuccess()) {
                         Log.e(TAG, "Could not get places.");
                         return;
                     }
                     List placeLikelihoodList = placesResult.getPlaceLikelihoods();
                     // Show the top 5 possible location results.
                     for (int i = 0; i < 5; i++) {
                         PlaceLikelihood p = placeLikelihoodList.get(i);
                         Log.i(TAG, p.getPlace().getName().toString() + ", likelihood: " + p.getLikelihood());
                     }
                 }
             });
To use the SnapshotAPI.getPlcaes() method, you must:
- Enable the Google Places API for Android in your Google Developers Console project.
- Add the
android.permission.ACCESS_FINE_LOCATIONpermission to AndroidManifest.xml.
In case you are developing for Android Marshmallow and above, make sure to handle the runtime permission for location.
4. Activity
Get the activity the user is currently busy in by using the getDetectedActivity() method. The getDetectedActivity() method requires com.google.android.gms.permission.ACTIVITY_RECOGNITION permission. Add this permission to AndroidManifest.xml.
Awareness.SnapshotApi.getDetectedActivity(mGoogleApiClient)
        .setResultCallback(new ResultCallback() {
            @Override
            public void onResult(@NonNull DetectedActivityResult detectedActivityResult) {
                if (!detectedActivityResult.getStatus().isSuccess()) {
                    Log.e(TAG, "Could not get the current activity.");
                    return;
                }
                ActivityRecognitionResult ar = detectedActivityResult.getActivityRecognitionResult();
                DetectedActivity probableActivity = ar.getMostProbableActivity();
                Log.i(TAG, probableActivity.toString());
            }
        });
DetectedActivityResult.getActivityRecognitionResult() returns an ActivityRecognitionResult. We can use the following functions to get various data related to the user’s activity
getMostProbableActivity()to get only the most probable activityhasResult()to detect whether anIntentcontains anActivityRecognitionResultgetActivityConfidence()to return the confidence value for a given activity type.getProbableActivities()to get a list of recent activities ranked by probability.
5. Weather
We can use SnapshotApi.getWeather() to get the weather conditions of the user’s current location. The SnapshotApi.getWeather() method requires the android.permission.ACCESS_FINE_LOCATION permission. Add this permission to AndroidManifest.xml.
Awareness.SnapshotApi.getWeather(mGoogleApiClient)
                .setResultCallback(new ResultCallback() {
                    @Override
                    public void onResult(@NonNull WeatherResult weatherResult) {
                        if (!weatherResult.getStatus().isSuccess()) {
                            Log.e(TAG, "Could not get weather.");
                            return;
                        }
                        Weather weather = weatherResult.getWeather();
                        Log.i(TAG, "Weather: " + weather);
                    }
                });
6. Headphone
We can use SnapshotApi.getHeadphoneState() to detect whether headphones are plugged into the device or not. It returns a HeadphoneStateResult. We can then call HeadphoneStateResult.getHeadphoneState() to get the headphone status.
Awareness.SnapshotApi.getHeadphoneState(mGoogleApiClient)
                .setResultCallback(new ResultCallback() {
                    @Override
                    public void onResult(@NonNull HeadphoneStateResult headphoneStateResult) {
                        if (!headphoneStateResult.getStatus().isSuccess()) {
                            Log.e(TAG, "Could not get headphone state.");
                            return;
                        }
                        HeadphoneState headphoneState = headphoneStateResult.getHeadphoneState();
                        if (headphoneState.getState() == HeadphoneState.PLUGGED_IN) {
                            Log.i(TAG, "Headphones are plugged in.\n");
                        } else {
                            Log.i(TAG, "Headphones are NOT plugged in.\n");
                        }
                    }
                });
7. Beacons
We can use getBeaconState() to get information about nearby beacons. To use the getBeaconState() method, we need to:
- Add
android.permission.ACCESS_FINE_LOCATIONto AndroidManifest.xml. - Activate the ‘Nearby Messages API’ for the Google Developers Console project.
We need to declare all the possible attachment’s namespaces and types in a TypeFilter.
private static final List BEACON_TYPE_FILTERS = Arrays.asList(
        BeaconState.TypeFilter.with(
                "my.beacon.namespace",
                "my-attachment-type"),
        BeaconState.TypeFilter.with(
                "my.other.namespace",
                "my-attachment-type"));
If your beacon’s attachment namespaceType is my-sample-project/mydata , my.beacon.namespace would be my-sample-project while my-attachment-type would be mydata. Then, we can get the state of the beacon using the following code.
Awareness.SnapshotApi.getBeaconState(mGoogleApiClient, BEACON_TYPE_FILTERS)
                .setResultCallback(new ResultCallback() {
                    @Override
                    public void onResult(@NonNull BeaconStateResult beaconStateResult) {
                        if (!beaconStateResult.getStatus().isSuccess()) {
                            Log.e(TAG, "Could not get beacon state.");
                            return;
                        }
                        BeaconState beaconState = beaconStateResult.getBeaconState();
                        // Get info from the BeaconState.
                    }
                });
Wrap up
In this post, we learnt about the Awareness API and its advantages. We also took a dive into the various context types provided by the Snapshots API. We even looked into some sample code to use each Context Type. In the next post, we will learn about the Fences API while building a nice sample app. So what are your thoughts on the Awareness API? Will you use it anytime soon? I would love to hear from you in the comments. Header image credits: Google Awareness API